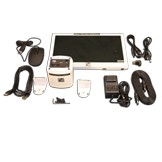
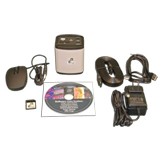
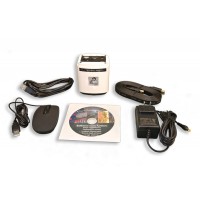
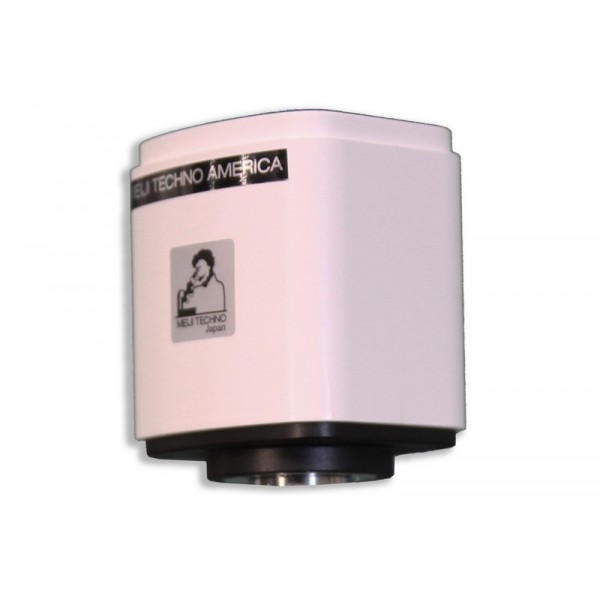
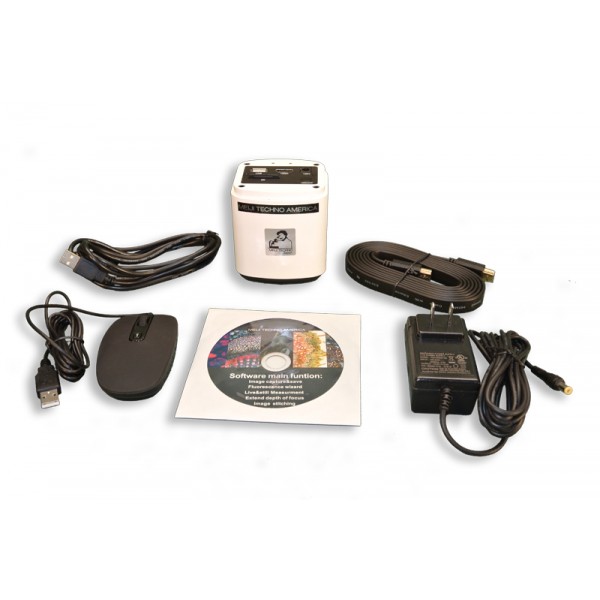
Includes:
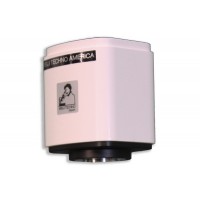
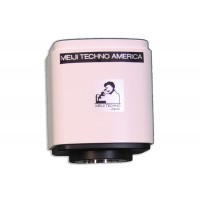
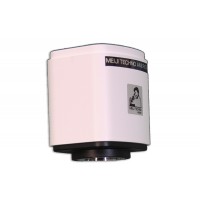
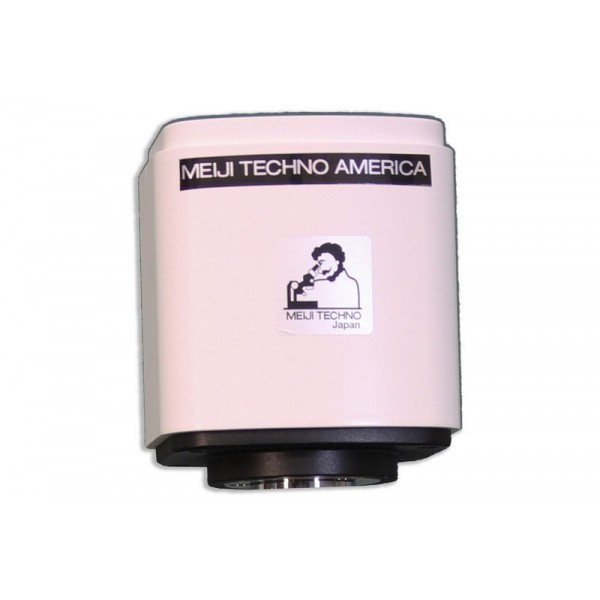
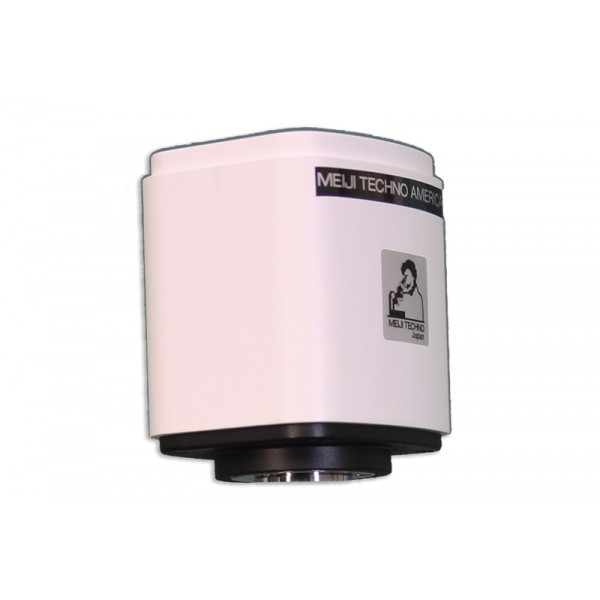
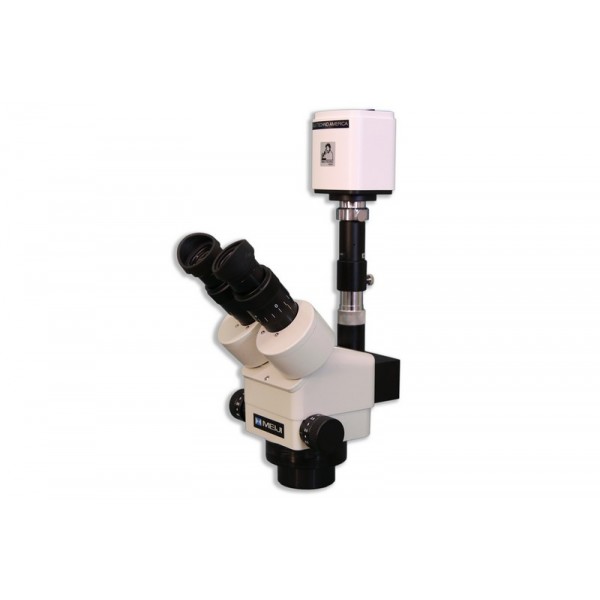
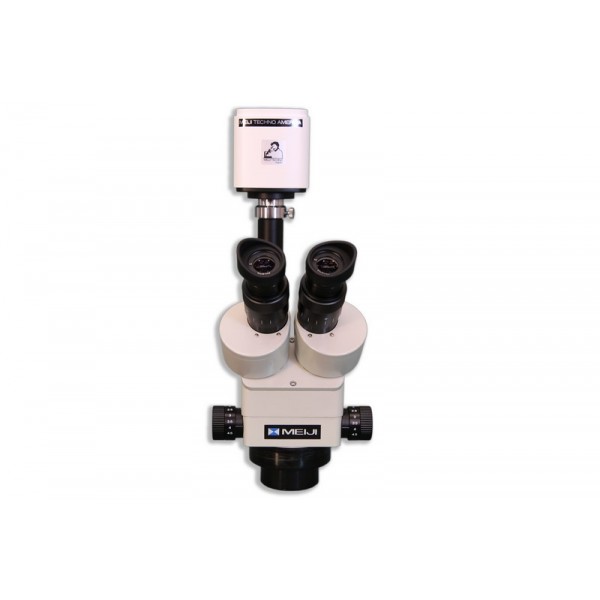
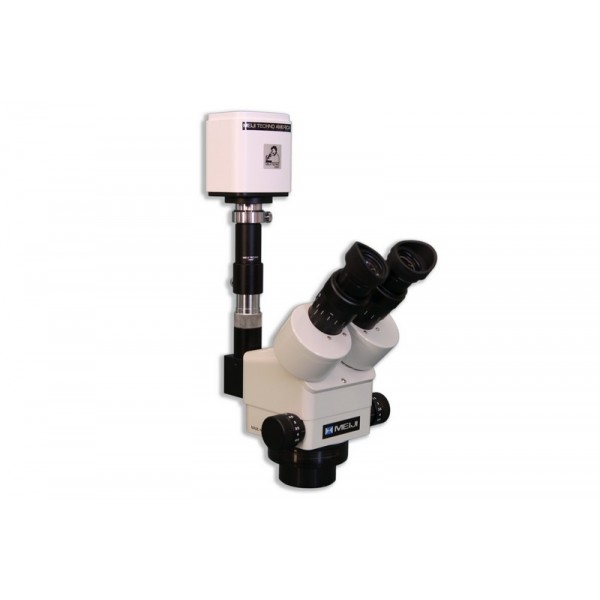
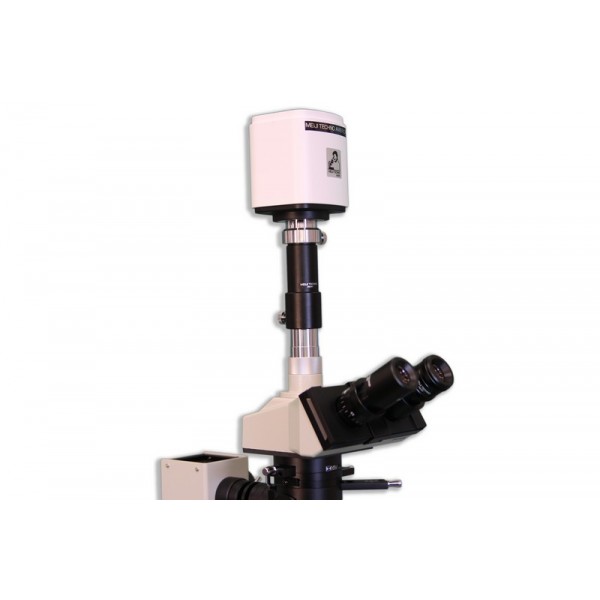
• HD1500T Camera
• HDMI Cable
• USB Cable
• 12V AC/DC Power adapter
• SD Card
• Mouse
• Application Software ISCapture
• Packing Box
Package Information:
• 5lbs
• 12 x 10 x 4 inches
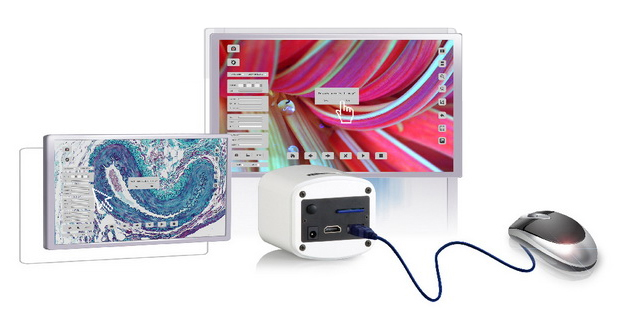
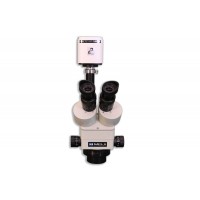
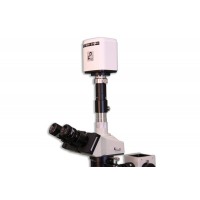
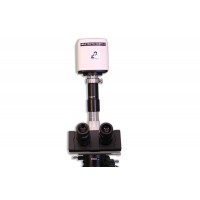
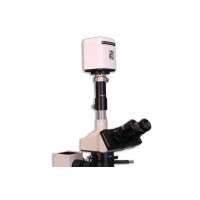
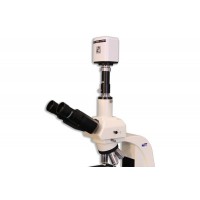
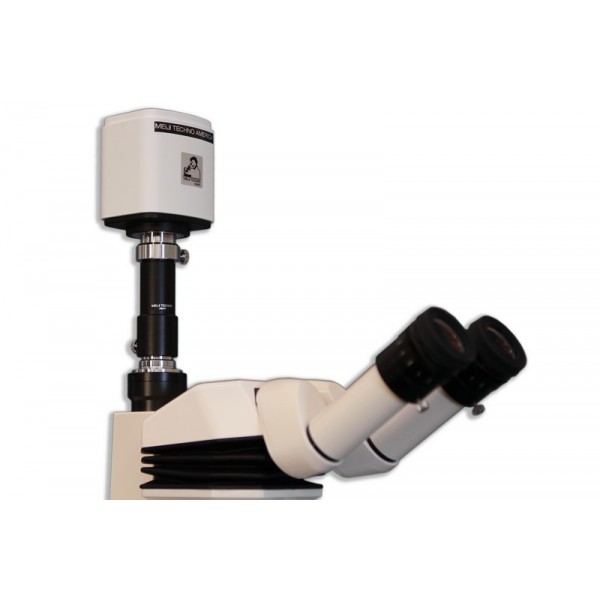
NEW: BUILT-IN MOUSE CONTROL CAMERA
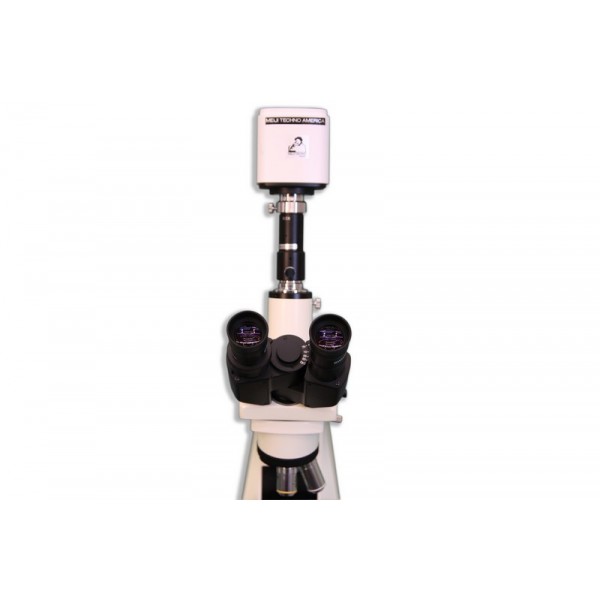
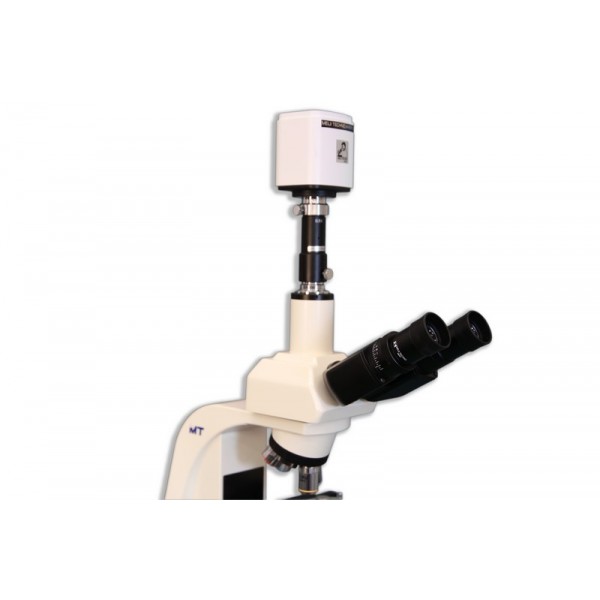
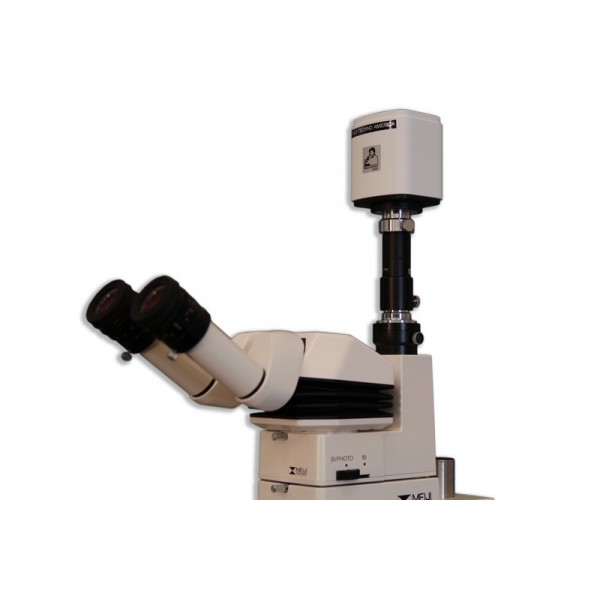
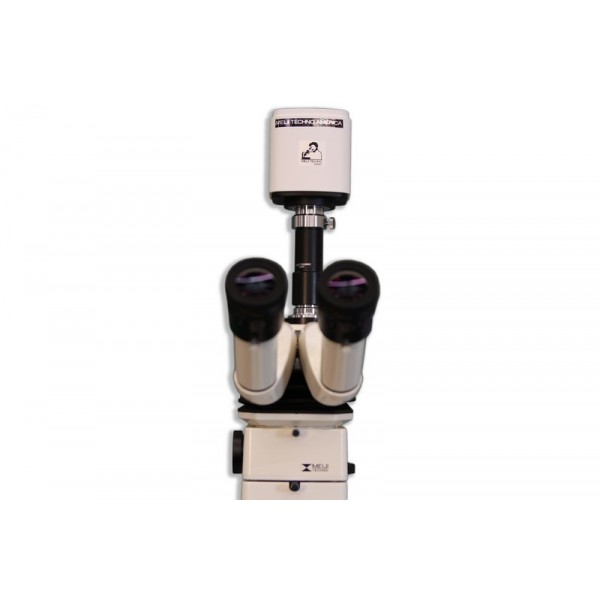
The significant innovation of the HD15000T is making the software implant inside the camera. This forward thinking feature frees users from cumbersone computers and annoying buttons. You can control the camera by only a mouse directly.
Videos of the camera in action with our microscopes:
Brief overview with the compare feature
With Darkfield microscopy.
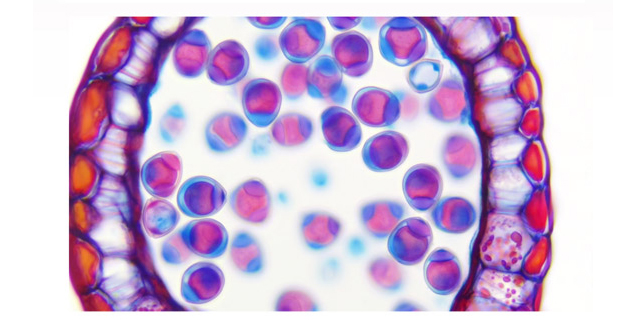
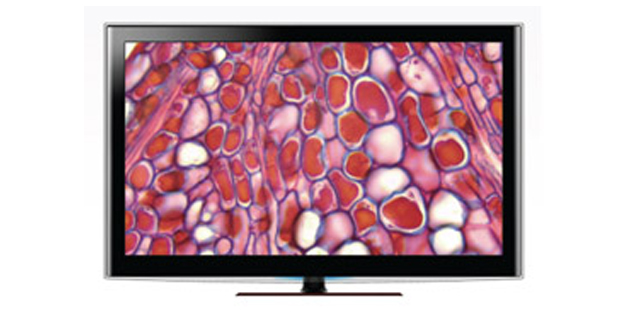
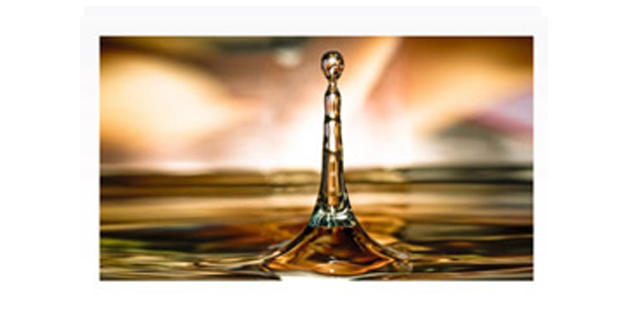
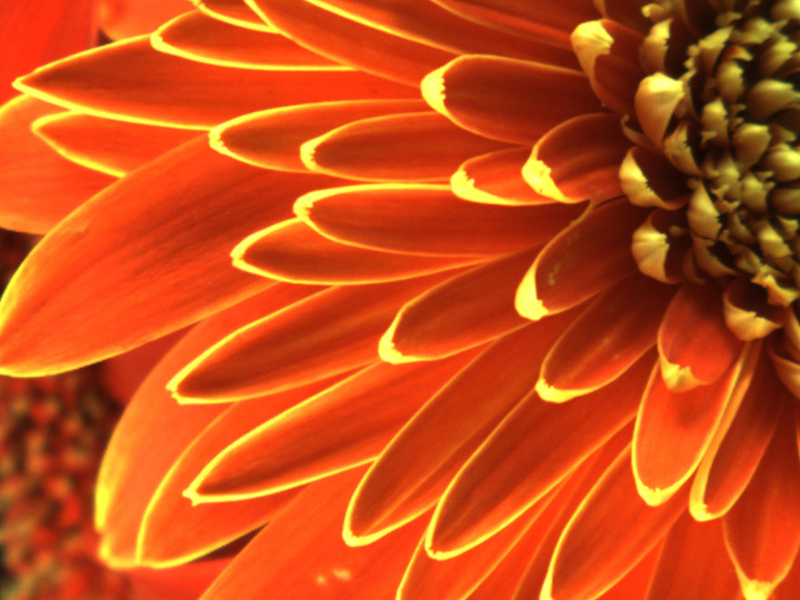
PERFECT COLOR REPRODUCTION
Meiji Techno's HD technology offers true-to-life reproduction oh image color. What you see on the monitor is what you get from the microscope eyepiece. No compressed date transmission, resulting in scientific-grade images.
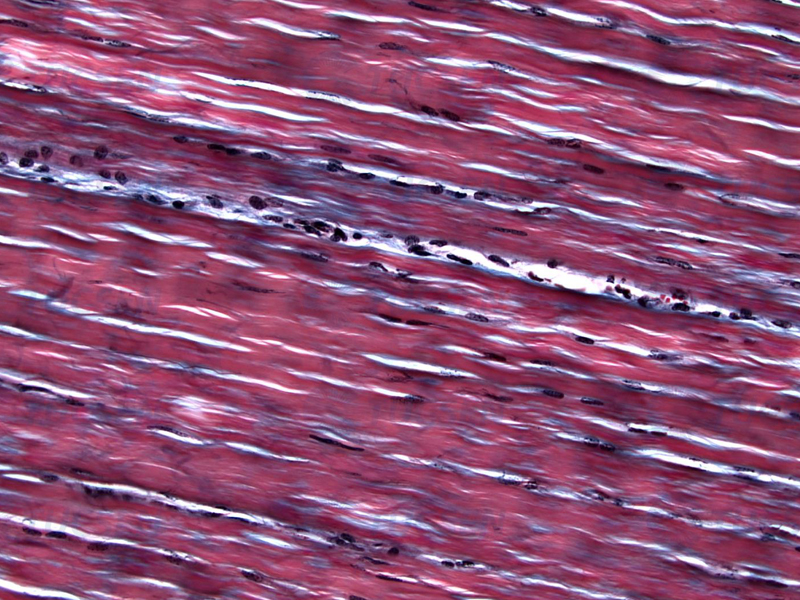
1080P 60FPS FULL FRAME RATES
With 60fps at 1080p, the HD1500T presents a perfect combination of outstanding resolution and frame rate. This allows the user to fluently manipulate the live images without any lags.
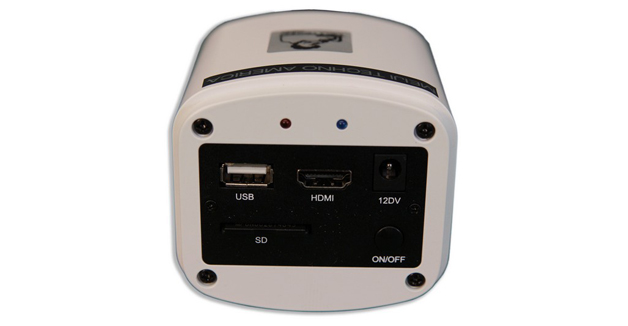
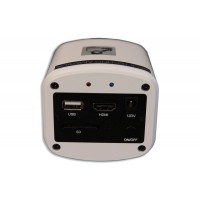
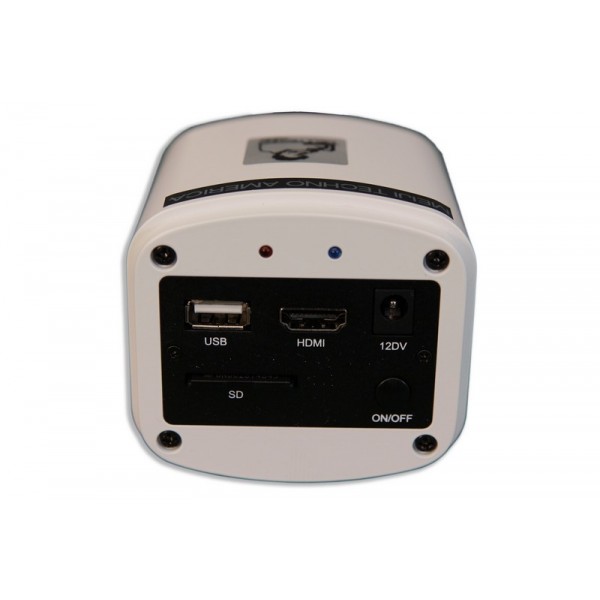
HDMI+USB 2.0+SD OUTPUT
Multiple output options are available for this powerful HDMI camera. HDMI 1080P, USB 2.0, or SD memory card can be used individually or all three SIMULTANEOUSLY.
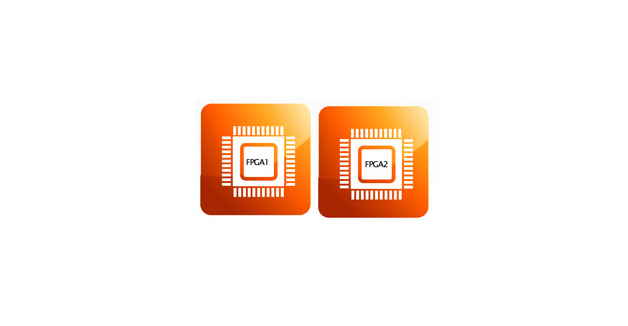
DUAL FPGA PROCESSORS
With an innovative Dual FPGA processor architecture design, FPGA1 for image quality processing and FPGA2 for image output control, you get a high-speed preview without sacrificing image quality. It is the most powerful camera you deserve to have.
SMART PRESENTATION
Camera parameters such as exposure time, white balance, and gain are designed by default to operate automatically. Automatic optimum configuration is expected to be done in 0.015 seconds, and you'll find that the camera is easily managed from the start.
ADVANCED PARAMETER SETTING
For users with specific requirements, the camera is designed with parameter setting buttons that enable manual adjustment of white balance, gain, saturation, Gamma and screen freeze.
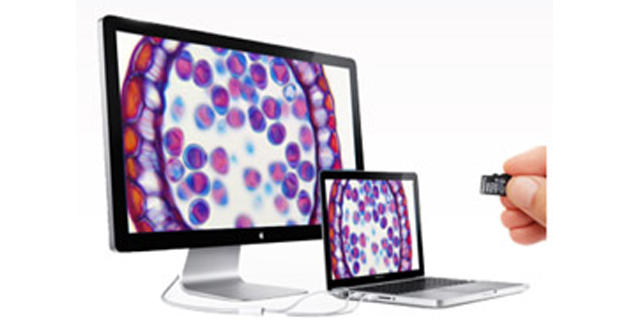
PC TO TV
Images are displayable on PCs and HDMI-installed TVs. All parameters can be controlled by the computer to adjust them to actual situations. This is advantageous in teaching and meeting applications.
On-board Video Saving
The SD card can save not only still images, but also dynamic images in 720P color definition, such that motion trails are recorded in fast speed and intact form.
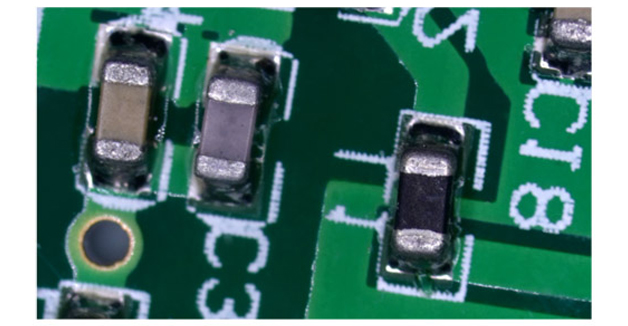
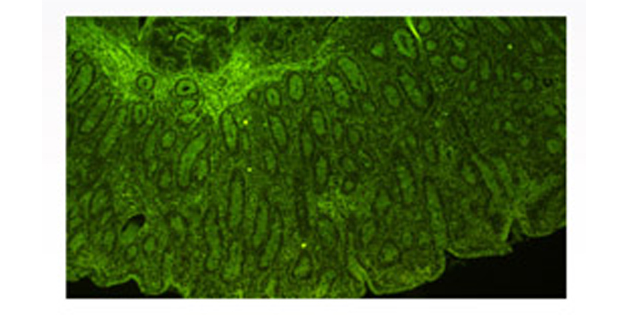
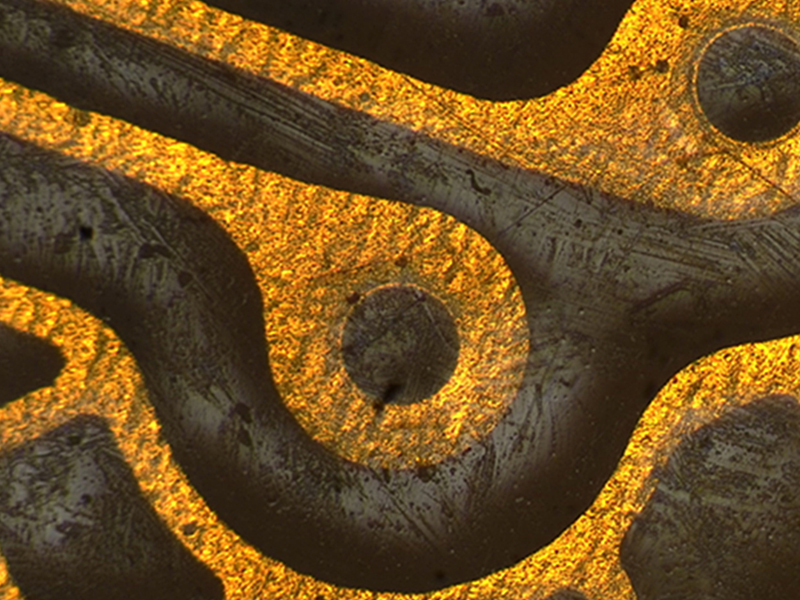
LOW LIGHT SENSITIVITY
Thanks to its highly sensitive sensor, the HD1500T is capable of capturing low-light images rapidly. In darkfield imaging and even fluorescence, it will automatically increase the sensitivity, presenting low light images with clarity in high-speed preview mode.
|
Model
|
Type
|
Version
|
Mega Pixels
|
Resolution
|
Frame Rate (FPS)
|
Sensor
|
C" Mount
|
|
HD1500T |
HDMI/USB 2.0 | Color | 2-6MP | 3264 x 1840 Static 1920 x 1080 Dynamic |
60fps by HDMI 30fps by USB 2.0 |
1/2.8" CMOS | 0.3X |
|
HD1500TM |
HDMI/USB 2.0 | Color | 2-6MP |
3264 x 1840 Static |
60fps by HDMI 30fps by USB 2.0 |
1/2.8" CMOS | 0.3X |
|
HD1500MET |
HDMI/USB 2.0 | Color | 2-6MP | 3264 x 1840 Static 1920 x 1080 Dynamic |
60fps by HDMI 30fps by USB 2.0 |
1/2.8" CMOS | 0.3X |
|
HD1500MET-M |
HDMI/USB 2.0 | Color | 2-6MP |
3264 x 1840 Static |
60fps by HDMI 30fps by USB 2.0 |
1/2.8" CMOS | 0.3X |
|
HD1500MET-AF |
HDMI/USB2.0 | Color | 2-6MP |
3264 x 1840 Static |
60fps by HDMI 30fps by USB 2.0 |
1/2.8" CMOS | 0.3X |
|
HD1500MET-M-AF |
HDMI/USB2.0 | Color | 2-6MP |
3264 x 1840 Static |
60fps by HDMI 30fps by USB 2.0 |
1/2.8" CMOS | 0.3X |
|
HD1000-LITE |
HDMI/USB 2.0 | Color | 5MP |
2592 x 1944 |
15fps by HDMI |
1/2.5" CMOS |
0.3X |
|
HD1000-LITE-M |
HDMI/USB 2.0 | Color | 5MP |
2592 x 1944 |
15fps by HDMI |
1/2.5" CMOS |
0.3X |
|
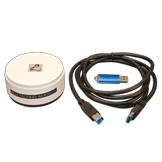
HD1600T |
USB 3.0 | Color | 16MP | 4608 x 3456 |
25fps by USB 3.0 |
1/2.33" CMOS |
0.3X |
|
SS500-MC |
Wifi | Color | 5MP | 2912 x 1640 | 60fps by Wifi | 1/2.3" CMOS | 0.3X |
|
WF300 |
Wifi | Color | 8MP | 3200 x 2400 | 60fps by USB 2.0 30fps by Wifi |
1/2.8" CMOS | 20-43mm Eyepiece Mount |
|
WF200 |
Wifi | Color | 5MP | 2592 x 1944 | 40fps by USB 2.0 15fps by Wifi |
1/2.8" CMOS | 0.3X |
|
WF100 |
Wifi | Color | 5MP | 2592 x 1944 | 30fps by Wifi | - | - |
|
X-1000U |
USB 2.0 | Color | 5MP | 2592 x 1911 | 10fps by USB 2.0 | 1/2.8" CMOS | 0.3X |
|
MIS-PL-DV24 |
USB 2.0 | Color | 2MP | 1600 x 1200 | 30fps by USB 2.0 | 1/2" CMOS | 0.5X |
|
DK-LITE-B |
USB 2.0 | Color | 1.5MP | 1440 x 1080 | 10fps by USB 2.0 | 1/2.5" CMOS | 0.5X |
|
DK1000CB |
USB 2.0 | Color | 2MP | 1600 x 1200 | 15fps by USB 2.0 | 1/2" CMOS | 0.5X |
|
DK1000M |
USB 2.0 | Monochrome | 1.3MP | 1280 x 1024 | 30fps by USB 2.0 | 1/2" CMOS | 0.5X |
|
DK3000C |
USB 2.0 | Color | 3.1MP | 2048 x 1536 | 12fps by USB 2.0 | 1/2" CMOS | 0.5X |
|
DK5000C |
USB 2.0 | Color | 5MP | 2592 x 1944 | 5fps by USB 2.0 | 1/2.5" CMOS | 0.7X |
|
HD2000C |
USB 2.0 | Color | 2MP | 1920 x 1080 | 60fps by USB 2.0 | 1/3" CMOS | 0.3X |
|
ST1000C |
USB 3.0 | Color | 5MP | 2592 x 1944 | 60fps by USB 3.0 | 1/2.5" CMOS | 0.5X |
Frequently Asked Questions
Q: Start the software and get the camera recognized, but the preview is all black.
A: Check whether the anti-dust cap on the C-mount is removed. If already removed and attach the camera to the microscop, check whether the lighting path toggle switch to the camera. Then try to extend the exposure time and gain to get brighter images.
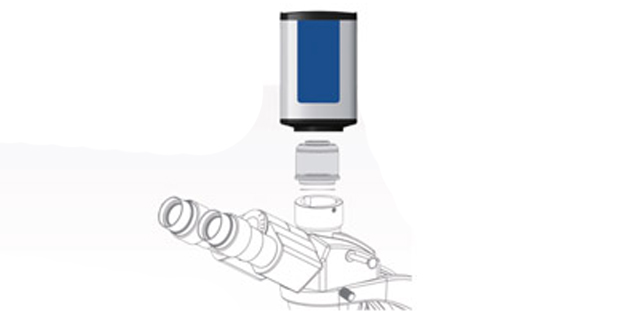
Q: The imaging scene from the eyepiece is in focus but the live images from the camera are still out of focus.
A: This is because the camera and the eyepiece are in different focal planes. Can consider to use adjustable adapter to connect camera to the microscope trinocular, and the adjust the adapter to make the live image in focus.
Q: There are some shadows on the image and the shadows always stay in the same position even when the sample is moved.
A: Possible reasons:
1. The anti-dust film on the camera C-mount is not removed. Remove the anti-dust film
2. Check to see if there is any dirt on the objective. Clean the objective.
3. Some dust on the surface of the camera IR filter. Clean the camera optical port.
Q: Camera frame rate is extremely slow.
A: Possible reasons:
1. Preview resolution is too high. Try lowering the resolution and check the change of the frame rate.
2. Exposure time is too long. If need exposure time longer than 200ms, try to use higher gain to get brighter images.
3. Computer issue. Computer is very old or the motherboard chipset is Intel 8 Series/C220 series.
Q: Start the software and get the error message: can not recognize the camera or No camera.
A: Possible reasons:
1. The camera USB cable is not well connected. Reconnect the camera again.
2. Check whether the camera is connect to the USB port on the front of the mainframe. If so, then connect it to the USB port on the back of the mainframe. The USB ports on the front of the mainframe are the extended ports from the motherboard which can not provide stable voltage and current for cameras.
3. The camera itself needs extra power supply but does not switch on the power. TrueChrome is required to switch on power, attach to the PC and then restart the software. TCC-6.1ICE is required to plug in power to be recognized by PC.
4. The camera driver is not installed or failed to install. Go to the "Device Manager" > "Imaging Devices" and check whether the camera is listed WITH YELLOW FLAG. Then re-install the driver again. If still fail to install to driver, please contact camera technical support for help.
Q: Image Field of View (FOV) is much smaller than the scene can be seen from the eyepieces.
A: Possible reasons:
The camera sensor size is not 1 inch. It needs reduce lens to get bigger FOV.
Low resolution is used to preview. Set full resolutionion.
The reduce lens does not match the camera sensor size.
Q: When push “Capture” button, sometimes the saved images are quite blurry.
A: It could be because some slight vibration happens on the camera during capturing the images.
Q: Security shield on ISCapture shortcut.
A: Some anti-virus or firewall softwaree installed in the PCs will identify the DLL files from ISCapture as virus and automatically isolate or delete the ISCapture software files. If have the warning message to delete or isolate the DLL files during the ISCapture installation, please ignore the warning message or set the ISCapture as trusted software. Otherwise, the ISCapture can not be used normally.
Q: Newer version software con not recognize the old cameras.
A: Currently, all the newer version software ISCapture is compatible with the previous version cameras EXCEPT TCA Series.
Q: After doing the measurement on the live images, the captured image is without any measurement data.
A: To save the live measurement on captured images, check the “Combined Measurements” checkbox in the File Save tab and then capture images. While doing the still image measurements, only click the Save or Save As on the right hand side shortcut to save the data on the images.
Q: The live images and the captures images color is quite different from the one we can see from the eyepieces.
A: Because of the different lighting source, White Balance is needed to correct the image color.
Q: How to do quick White Balance?
A: White Balance while attached to camera to stereo microscope: Use a white paper to replace the sample. Click on “White Balance” to correct the image color > Remove the white paper and put back the sample.
White Balance while attach the camera to the biological microscope: Move the sample slide to the blank area. Click on “White Balance” and move back the sample.
Q: After install ISCapture and firstly start the software, but get the error “The program can’t start because MSVCP100.dll is missing from your computer. Try reinstalling the program to fix this problem.”

A; This is because the operating system lack of some Visual C++ 32bit library files which the ISCapture needs to call them. Without these files, the software can not be started normally. Install the patch VCredist_x86.exe (can be found in the CD that comes with the camera or go to http://www.microsoft.com/en-us/download/details.aspx?id=5555
Q: Start the ISCapture but get the error “Unable to execute file C:\Program Files\ISCapture\ISCapture.exe CreateProcess failed; code 740.
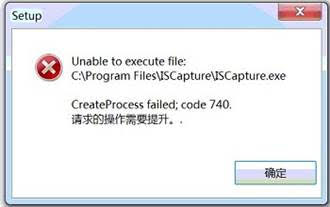
A: Completely remove the ISC Capture, reboot the PC and then right click on ISCapture installer (ISCapture Setup.exe) and select “Run as Administrator” to install the ISCapture. When you first start the software right click on the ISC icon and select “Run as Administrator” to start it.
Q:When start ISCapture, get error message “Cannot find the USB Key!”

A: The software is encrypted. Specific USB key is needed to attach to the computer port first.
Q:After capturing several images, it takes more and more time to save a frame image. Sometimes it is even up to more than 30 seconds, and then finally the software hang or crash.
A: If the image save directory is the network driver, during uploading the files to network driver, it will significantly increase the COP usage. When the CUP usage is up to 100%, the software will hang or crash. Recommend to change the file save directory to the computer hard disk.
Q: Whether can share the calibration files on different PCs?
A: If using the ISCapture earlier version than V4.0: Go to the folder “Application Data/ISCapture” in system disk, find the file “calibrationTable.ini” and copy it to another PC under the same directory. (The “Application Data” folder is a hidden folder, you might need to make the system invisible visible first.)
If it is ISCapture V4.0 or later, go to the Parameter tab and click “Backup” to backup the parameter settings and copy them to another PC to restore them.
Q:After install the ISCapture and every time I run the software i get the error:
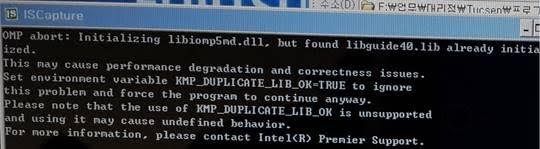
A: This is because some program in the user’s PC is using the library file ‘libiomp5md.dll’which will conflict with the ISCapture. So far as we know, the software GoPro Studio will conflict with ISCapture. To solve this issue, please try to remove the libiomp5md.dll from the C:\Windows\System32 folder while using the ISCapture.
Q: Shortcut keys for ISCapture to capture still images and videos:
A: With ISCapture V3.6.6 or later, running the ISCapture first, Press F9 key on the keyboard to capture images. Press F10 to start the video recording. If in manual recording mode, press F11 to stop the recording.
Q: On preview images, lots of horizontal lines appear.

A: This is because of the lighting frequency. Extend exposure time or turn off the filament lamp or fluorescent lamp in the environment to solve this issue.
Q:Recording issue when connected to the HD1500T/HD1000 Series to the monitor and recorded video directly to the SD card? If so, do you know what the capacity of the SD card the user used during recording the videos?
A:When recording videos to the SD card, the camera only supports the SD card with format SDHC. It can not work with the SD card format SDXC. And max. capacity of the SDHC format SD card is 32GB which means the SD card with capacity >= 64GB, is format SDXC.
If already use SDHC format SD card, please help to confirm the information below:
1). Whether the customer used the SD card came with the HD1500T/HD1000 camera?
2). If not, what exactly the model of the SD card the customer used? Maybe some picture of the SD card.
If got the issue while connect the camera to the computer, I need to confirm below information:
1). The software always stop recording AUTOMATICALLY after 5-10 minutes?
2). Whether the software or the computer freeze if MANUALLY stop the recording?
The HD1500T features include:
CCD vs CMOS
Meiji Techno America allows Digital / Analog CCD and CMOS cameras to be mounted directly to a microscopes trinocular port using the proper C” mount adapter that match’s the chip size of the camera. Any digital or video camera with a “C” mount ( 1” diameter thread) can be mounted on any Meiji Techno Trinocular microscope ( 25.2 tube ) by using these “ C”- mount attachments. They are available with projection lenses of different powers allowing some control over the magnification and the field view. “CS” mount cameras with require part number V-5MM to be threaded on prior to installing the adapter. Meiji Techno America’s adapters depend on the quality of our Japanese lenses. Our microscope adapters are designed and developed individually for each camera’s lens system and therefore it effectively eliminates vignetting and minimizes optical errors often associated with photomicrography by a consumer digital /analog camera. The image quality, peripheral resolution and color rendering is optimum as you would expect for a high quality Japanese C” mount adapter from Meiji Techno.
Generally low end adapters in the market have one or more of the following problems often associated with photomicrography:
Introduction to Image Sensors
Since every Digital camera has a sensor, it is usually either a CCD or a CMOS type chip sensor. All sensors are analog devices, converting photons into electrical signals. The process by which the analog information is changed to digital is called Analog to Digital conversion. When an image is being captured by a network camera, light passes through the lens and falls on the image sensor. The image sensor consists of picture elements, also called pixels, that register the amount of light that falls on them. They convert the received amount of light into a corresponding number of electrons. The stronger the light, the more electrons are generated. The electrons are converted into voltage and then transformed into numbers by means of an A/D-converter. The signal constituted by the numbers is processed by electronic circuits inside the camera. Presently, there are two main technologies that can be used for the image sensor in a camera, i.e. CCD(Charge-coupled Device) and CMOS (Complementary Metal-oxide Semiconductor). Their design and different strengths and weaknesses will be explained in the following sections.
Color Filtering
Image sensors register the amount of light from bright to dark with no color information. Since CMOS and CCD image sensors are ‘color blind’, a filter in front of the sensor allows the sensor to assign color tones to each pixel. Two common color registration methods are RGB (Red, Green, and Blue) and CMYG (Cyan, Magenta, Yellow, and Green). Red, green, and blue are the primary colors that, mixed in different combinations, can produce most of the colors visible to the human eye.
CCD Technology
In a CCD sensor, the light (charge) that falls on the pixels of the sensor is transferred from the chip through one output node, or only a few output nodes. The charges are converted to voltage levels, buffered, and sent out as an analog signal. This signal is then amplified and converted to numbers using an A/D-converter outside the sensor. The CCD technology was developed specifically to be used in cameras, and CCD sensors have been used for more than 30 years. Traditionally, CCD sensors have had some advantages compared to CMOS sensors, such as better light sensitivity and less noise. In recent years, however, these differences have disappeared. The disadvantages of CCD sensors are that they are analog components that require more electronic circuitry outside the sensor, they are more expensive to produce, and can consume up to 100 times more power than CMOS sensors. The increased power consumption can lead to heat issues in the camera, which not only impacts image quality negatively, but also increases the cost and environmental impact of the product. CCD sensors also require a higher data rate, since everything has to go through just one output amplifier, or a few output amplifiers.
CMOS Technology
Early on, ordinary CMOS chips were used for imaging purposes, but the image quality was poor due to their inferior light sensitivity. Modern CMOS sensors use a more specialized technology and the quality and light sensitivity of the sensors have rapidly increased in recent years. CMOS chips have several advantages. Unlike the CCD sensor, the CMOS chip incorporates amplifiers and A/D-converters, which lowers the cost for cameras since it contains all the logics needed to produce an image. Every CMOS pixel contains conversion electronics. Compared to CCD sensors, CMOS sensors have better integration possibilities and more functions. However, this addition of circuitry inside the chip can lead to a risk of more structured noise, such as stripes and other patterns. CMOS sensors also have a faster readout, lower power consumption, higher noise immunity, and a smaller system size. It is possible to read individual pixels from a CMOS sensor, which allows ‘windowing’, which implies that parts of the sensor area can be read out, instead of the entire sensor area at once. This way a higherframe rate can be delivered from a limited part of the sensor, and digital PTZ (pan/tilt/zoom) functions can be used. It is also possible to achieve multi-view streaming, which allows several cropped view areas to be streamed simultaneously from the sensor, simulating several ‘virtual cameras’.
Main Differences
A CMOS sensor incorporates amplifiers, A/D-converters and often circuitry for additional processing, whereas in a camera with a CCD sensor, many signal processing functions are performed outside the sensor. CMOS sensors have a lower power consumption than CCD image sensors, which means that the temperature inside the camera can be kept lower. Heat issues with CCD sensors can increase interference, but on the other hand, CMOS sensors can suffer more from structured noise. A CMOS sensor allows ‘windowing’ and multi-view streaming, which cannot be performed with a CCD sensor. A CCD sensor generally has one charge-to-voltage converter per sensor, whereas a CMOS sensor has one per pixel. The faster readout from a CMOS sensor makes it easier to use for multi-megapixel cameras. Recent technology advancements have eradicated the difference in light sensitivity between a CCD and CMOS sensor at a given price point.
Conclusion
CCD and CMOS sensors have different advantages, but the technology is evolving rapidly and the situation changes constantly. Using the proper C” mount adapter from Meiji Techno America will maximize your image quality that you are seeing through your microscope lens.
Note: Reduction lenses (i.e. magnification factors less than 1.0x) are commonly used to compensate for the increased magnification factor inherent with cameras used on microscopes.
SD CARD COMPATIBILITY : When recording videos to the SD card, the HD1000-LITE, HD1000-LITE_M, HD1500T, HD1500TM, HD1500MET, HD1500MET-M camera only supports the SDHC- SD card with format SDHC and max. capacity of the SDHC format SD card is 32GB.
It can not work with the SD card format SDXC. SDXC card with capacity >= 64GB, is format SDXC.


Double click to read at full screen
Download Calibrate Guide (PDF)
Download Camera Driver (ZIP)
Download TCapture Software (ZIP)
Download MAC ISListen Capture Software (2018)
Download ISListen MAC Installation Guide (PDF)
Double click to read at full screen
Download Manual (PDF)
Double click to read at full screen
Download Software Manual (PDF)
Double click to read at full screen
Download Menu Quick Guide (PDF)
Double click to read at full screen
Download Calibrate Guide (PDF)
Double click to read at full screen
Download FAQ Sheet (PDF)
Double click to read at full screen
Download Manual (PDF)