
First, make sure the working area is clean and dust free.
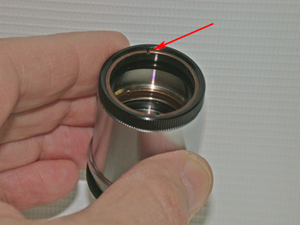
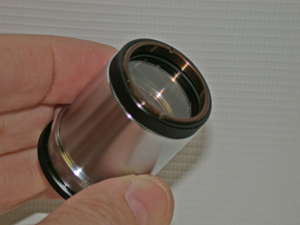
Next, remove the eyepiece from the eyetube.
Then grab the top and bottom of the eyepiece and unscrew. The bottom plastic part should unscrew.
If the eyepiece is too tight, use soft jaw pliers. NEVER USE METAL JAW PLIERS.
Be careful not to drop these pieces as severe damage to the optics may result.
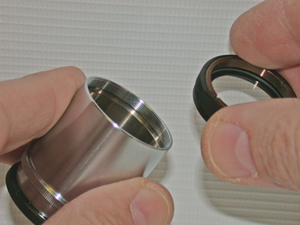
With the bottom removed, look at the bottom piece and locate the mounting ring that will be removed.
The ring may appear a copper color of metal as shown in the photo.
On the ring, there will be two notches that are opposite each other.
You will need a tool like a jewelers screwdriver that will fit well into the slot and not damage the ring or eyepiece body.
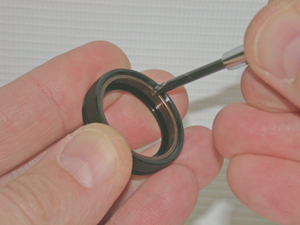
With your tool, unscrew the ring by rotating it counter-clockwise or to the left.
Also be careful not to introduce dirt or dust into your eyepiece during this procedure.

Next, carefully remove the ring from the eyepiece.
Resist the temptation of using your can of compressed air.
Oftentimes the mist that comes from cans of compressed air leaves a white film that is VERY hard to remove.
A very small paint brush or a small very fine dusting brush used in cosmetics is a good choice.
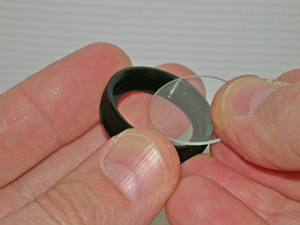
Next, and if it is clean, you are ready to drop in your eyepiece micrometer.
If you can tell which side of the glass has the image etched on it, that side faces into the microscope.
If you cannot, the markings on your reticle may possibly be out of focus which means the reticle is installed backwards. You will need to remove it and flip it around the opposite way.
With the reticle in place, it's time to return the threaded ring.
Again be careful not to introduce dirt or dust into your eyepiece. You may need to clean and start over again if too much debris is present.
Rotate the ring in a clockwise motion until the ring is snug with the reticle.
Do not overtighten.
Check if the reticle is tight by shaking and detecting no rattle.
Now we are ready to re-assemble the eyepiece.
Be careful to screw the pieces together evenly and not to cross-thread the two pieces.
When screwed together correctly, there will be no gap between the two pieces.
With your reticle installed, it's time to check your work.
Put the eyepiece to your eye and point it to a light source overhead.
You should see the image pattern clearly.
If not, slide the eyepiece into the microscope and make a basic setup.
If the reticle is still out of focus, you may have the reticle installed backwards. If flipping the reticle does not work, contact Meiji or your local dealer for assistance.


