
|
Changing Camera
Tubes on EMZ-8TR, EMZ-12TR & EMZ-13TR
|
|
The following
instructions are to be used when installing
a MA151/8TR on EMZ models that have the
black box on the rear of the microscope.
EMZ Models that
have a constantly active trinocular tube
include:
EMZ-8TR
EMZ-8TRD
EMZ-8TRU
EMZ-8TRUD
EMZ-12TR
EMZ-12TRD
EMZ-13TR
The above listed
models have a removable standard tube that
can be replaced with part number MA151/8TR
which has a 0.6X lens inside of it. We
recommend this
adapter to customers who would like to
install a video camera, either analog or
digital, that has a pickup chip size
of 1/2" onto their microscope.
|
||
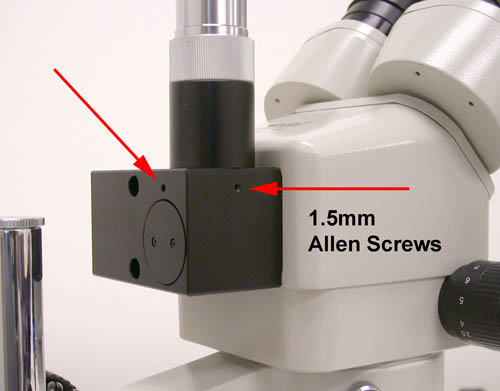 |
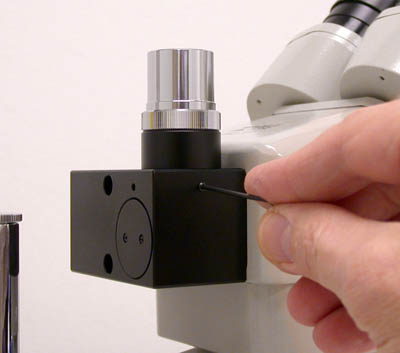
First, locate the two screw holes on the back and on the side where the tube is mounted.
|
|
 |
One will need to use a 1.5mm allen wrench to loosen each of the two screws.
|
|
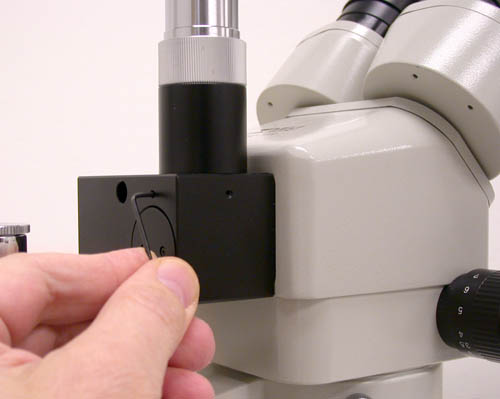 |
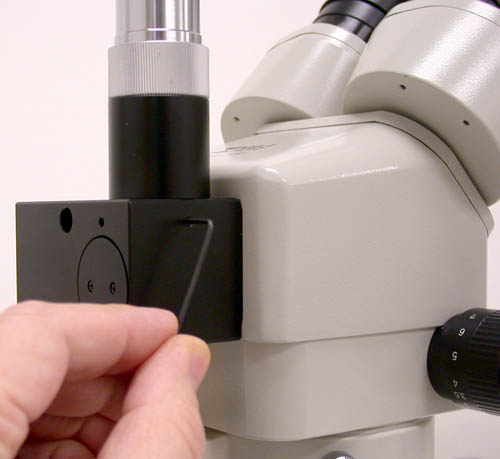
Each screw does not need to be removed entirely, but just enough to remove the standard tube. | |
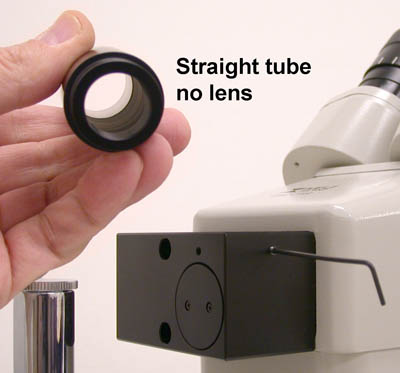 |
One can tell right away that this tube is the standard tube that came with the microscope as it does NOT have a lens within the tube. | |
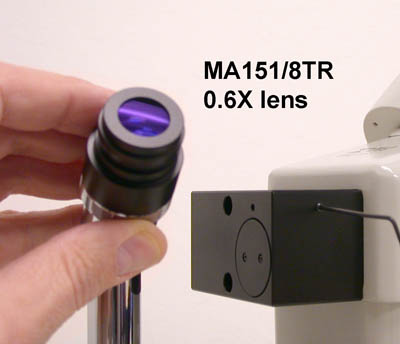 |
One can also notice that the MA151/8TR overall length is shorter and that there is a lens inside of the tube. | |
 |
The MA151/8TR drops into place and the allen screws are carefully re-tightened. The screws do not need to be too tight, just snug. |
|
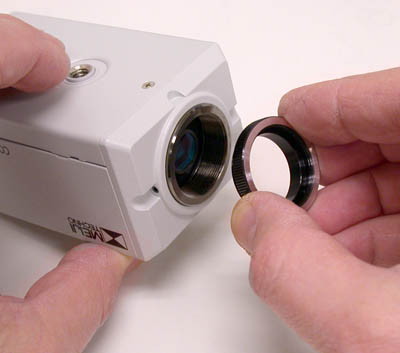 |
The following instructions apply to our model CK3900N or CK3900P Analog Video Camera but can be used with other "C" or "CS" mount 1/2" chip cameras. To finish the camera installation, remove the camera from its packaging. Inside the small padded bag, one will find some parts including a 5mm threaded spacer. This spacer is installed onto the camera prior to any other device. With the spacer in place, the camera has now a true "C" mount aperture per the standard specification. This insures the camera image plane is in the correct position or depth. If your spacer is lost, the replacement part number is V-5MM, list price is USD$15.00 available through any Meiji dealer. |
|
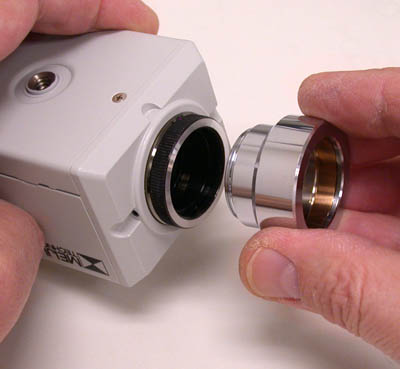 |
Now the chrome cap from the MA151/8TR can be installed on the camera. | |
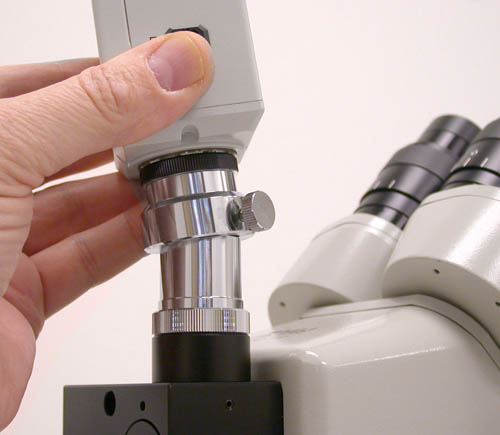 |
The camera is ready to go onto the microscope. Use the thumbscrew to tighten the camera to the tube. One will need to adjust the height of the camera in relation to the tube in order to parfocal the camera to the microscope. When parfocalled, the camera will be in focus whenever the user has a focused image in the eyetubes. |
|
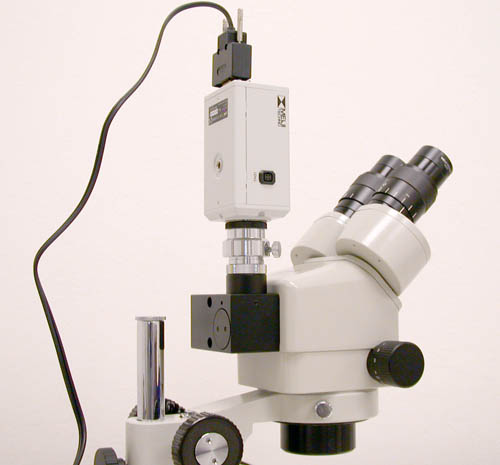 |
The completed setup looks similar to the picture at left except for the video cable which will plug into the back of the camera. |
|
|
Keep your
standard tube in a drawer as you may want to
use a different type of camera in the future
like a 35mm SLR or perhaps a camera with a
different size pick up chip. One thing to
remember about camera chip sizes:
Meiji Techno does not recommend using 1/4" chip cameras as image resolution is not sufficient for microscopy.
For those who do have 1/4" chip cameras, the appropriate adapter is the MA151/8TR/02, which is longer and requires that only the top portion of the original straight tube is removed: 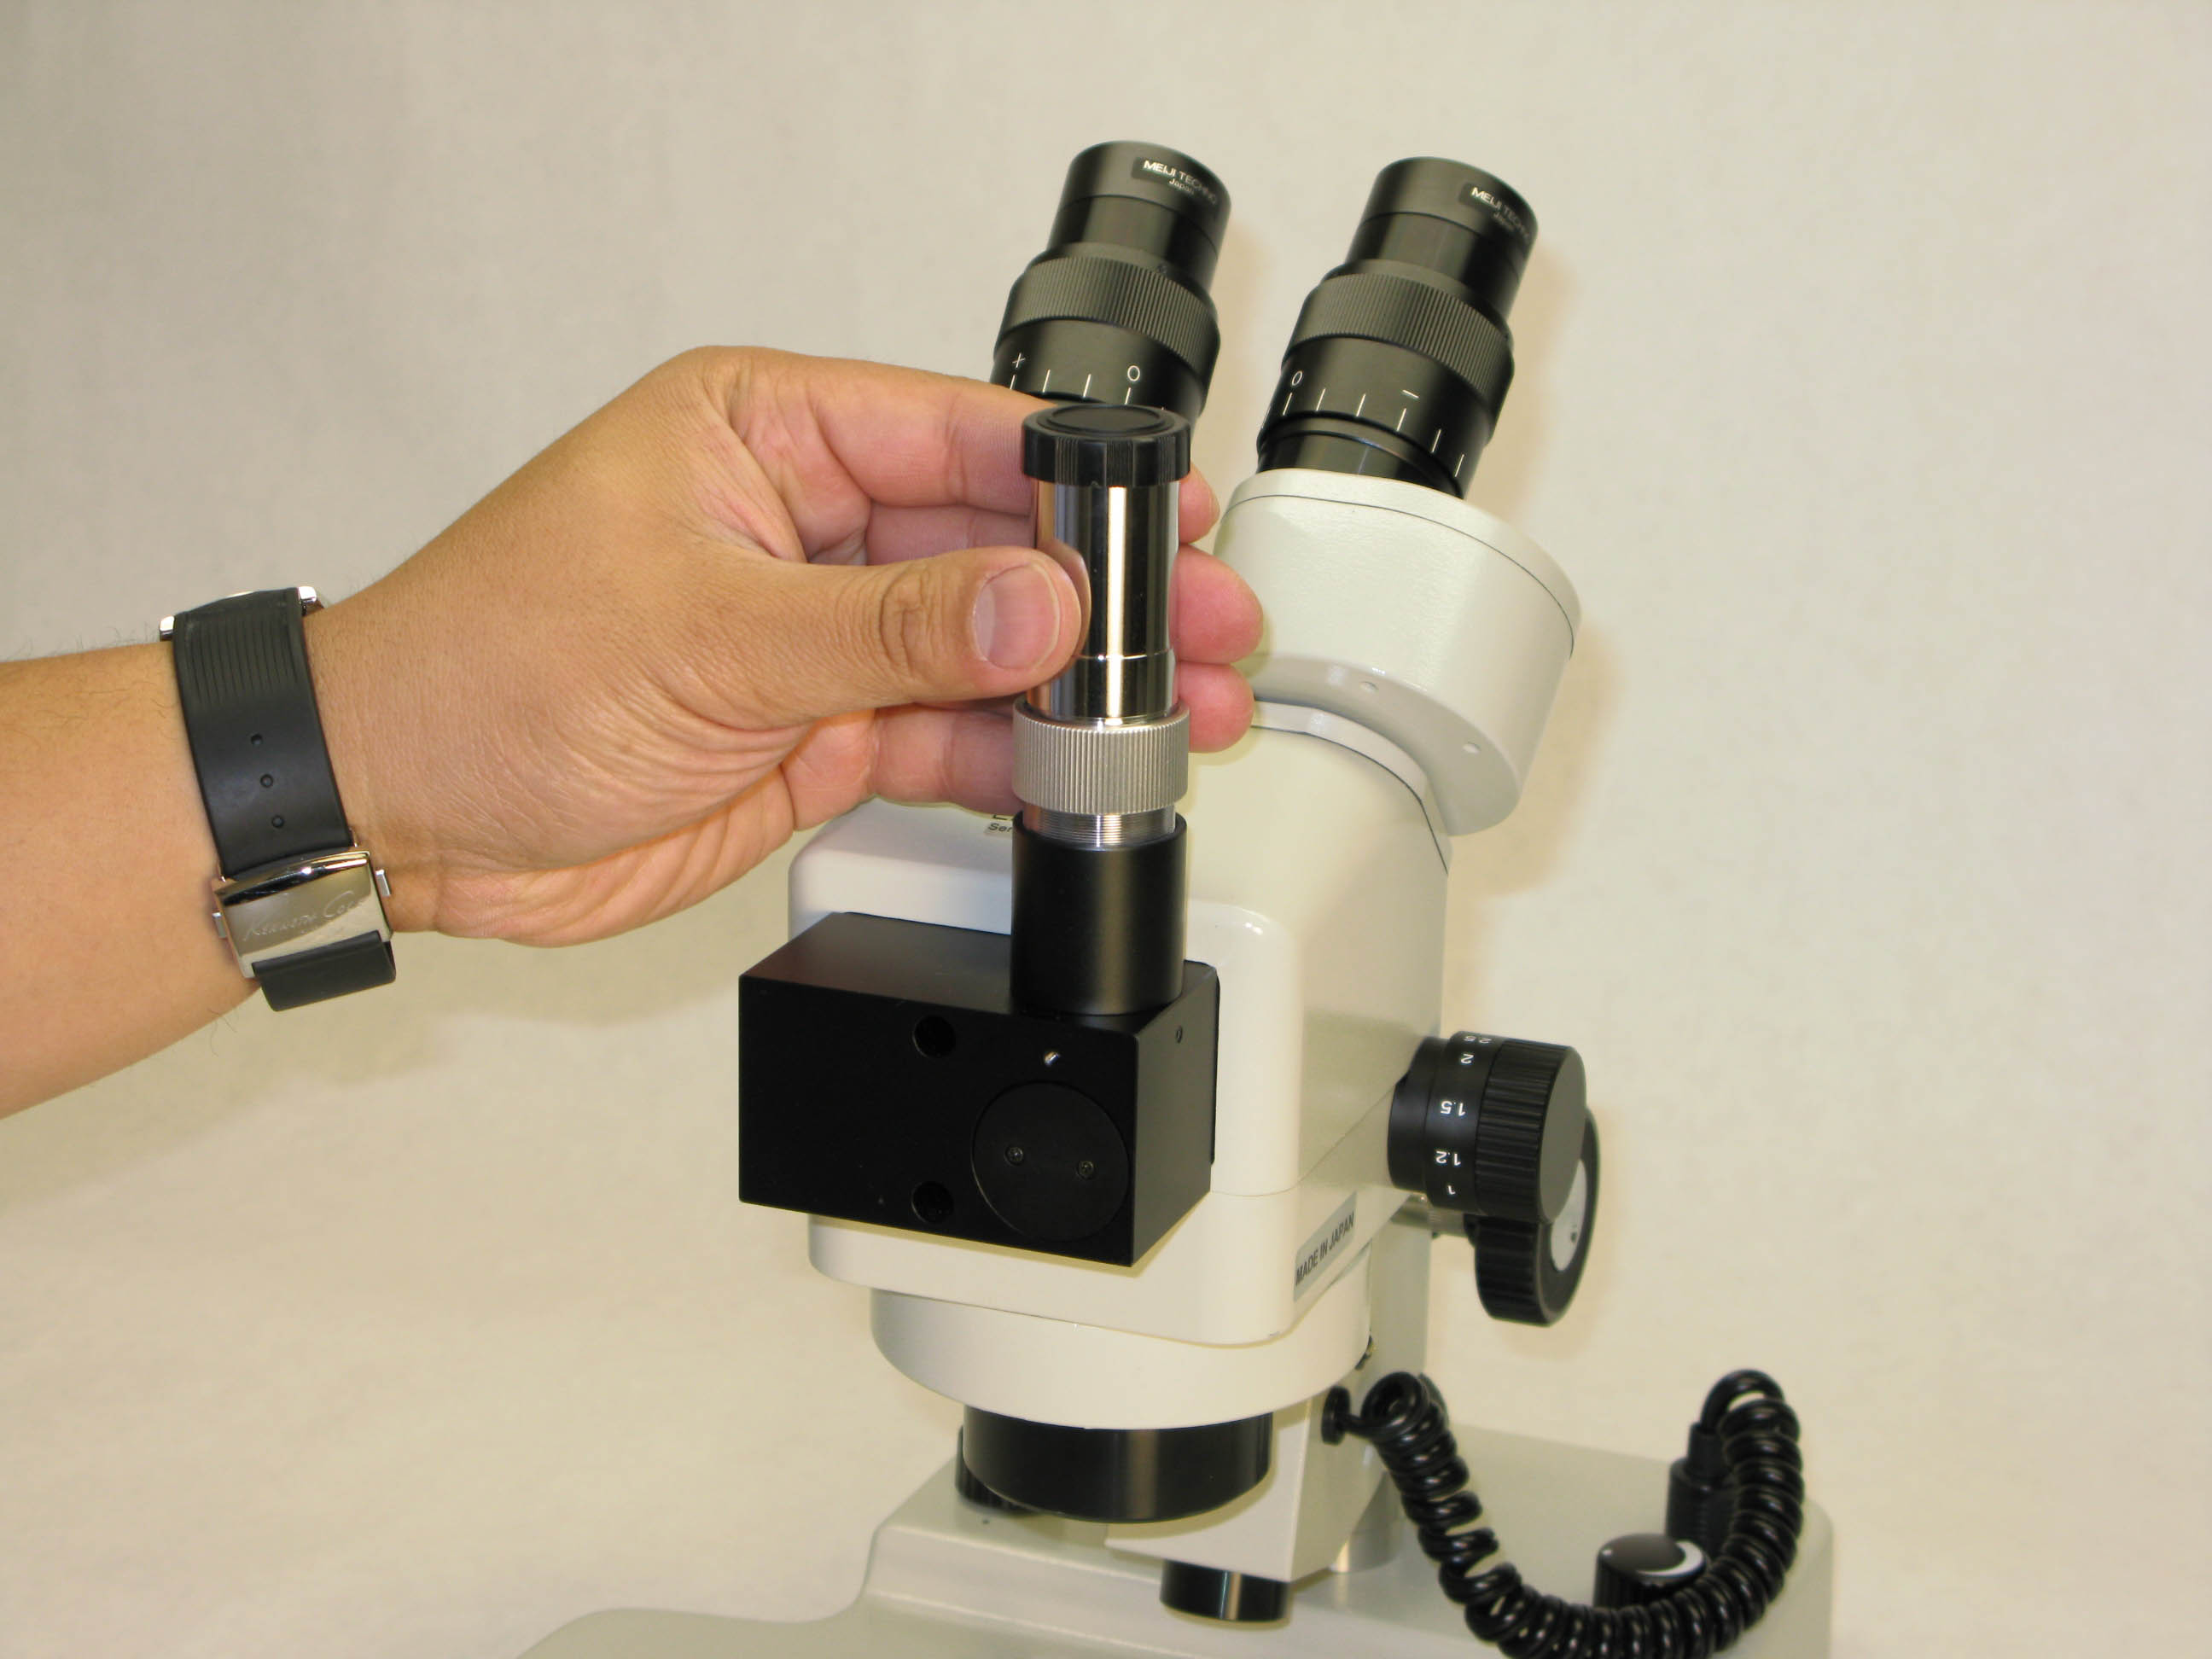 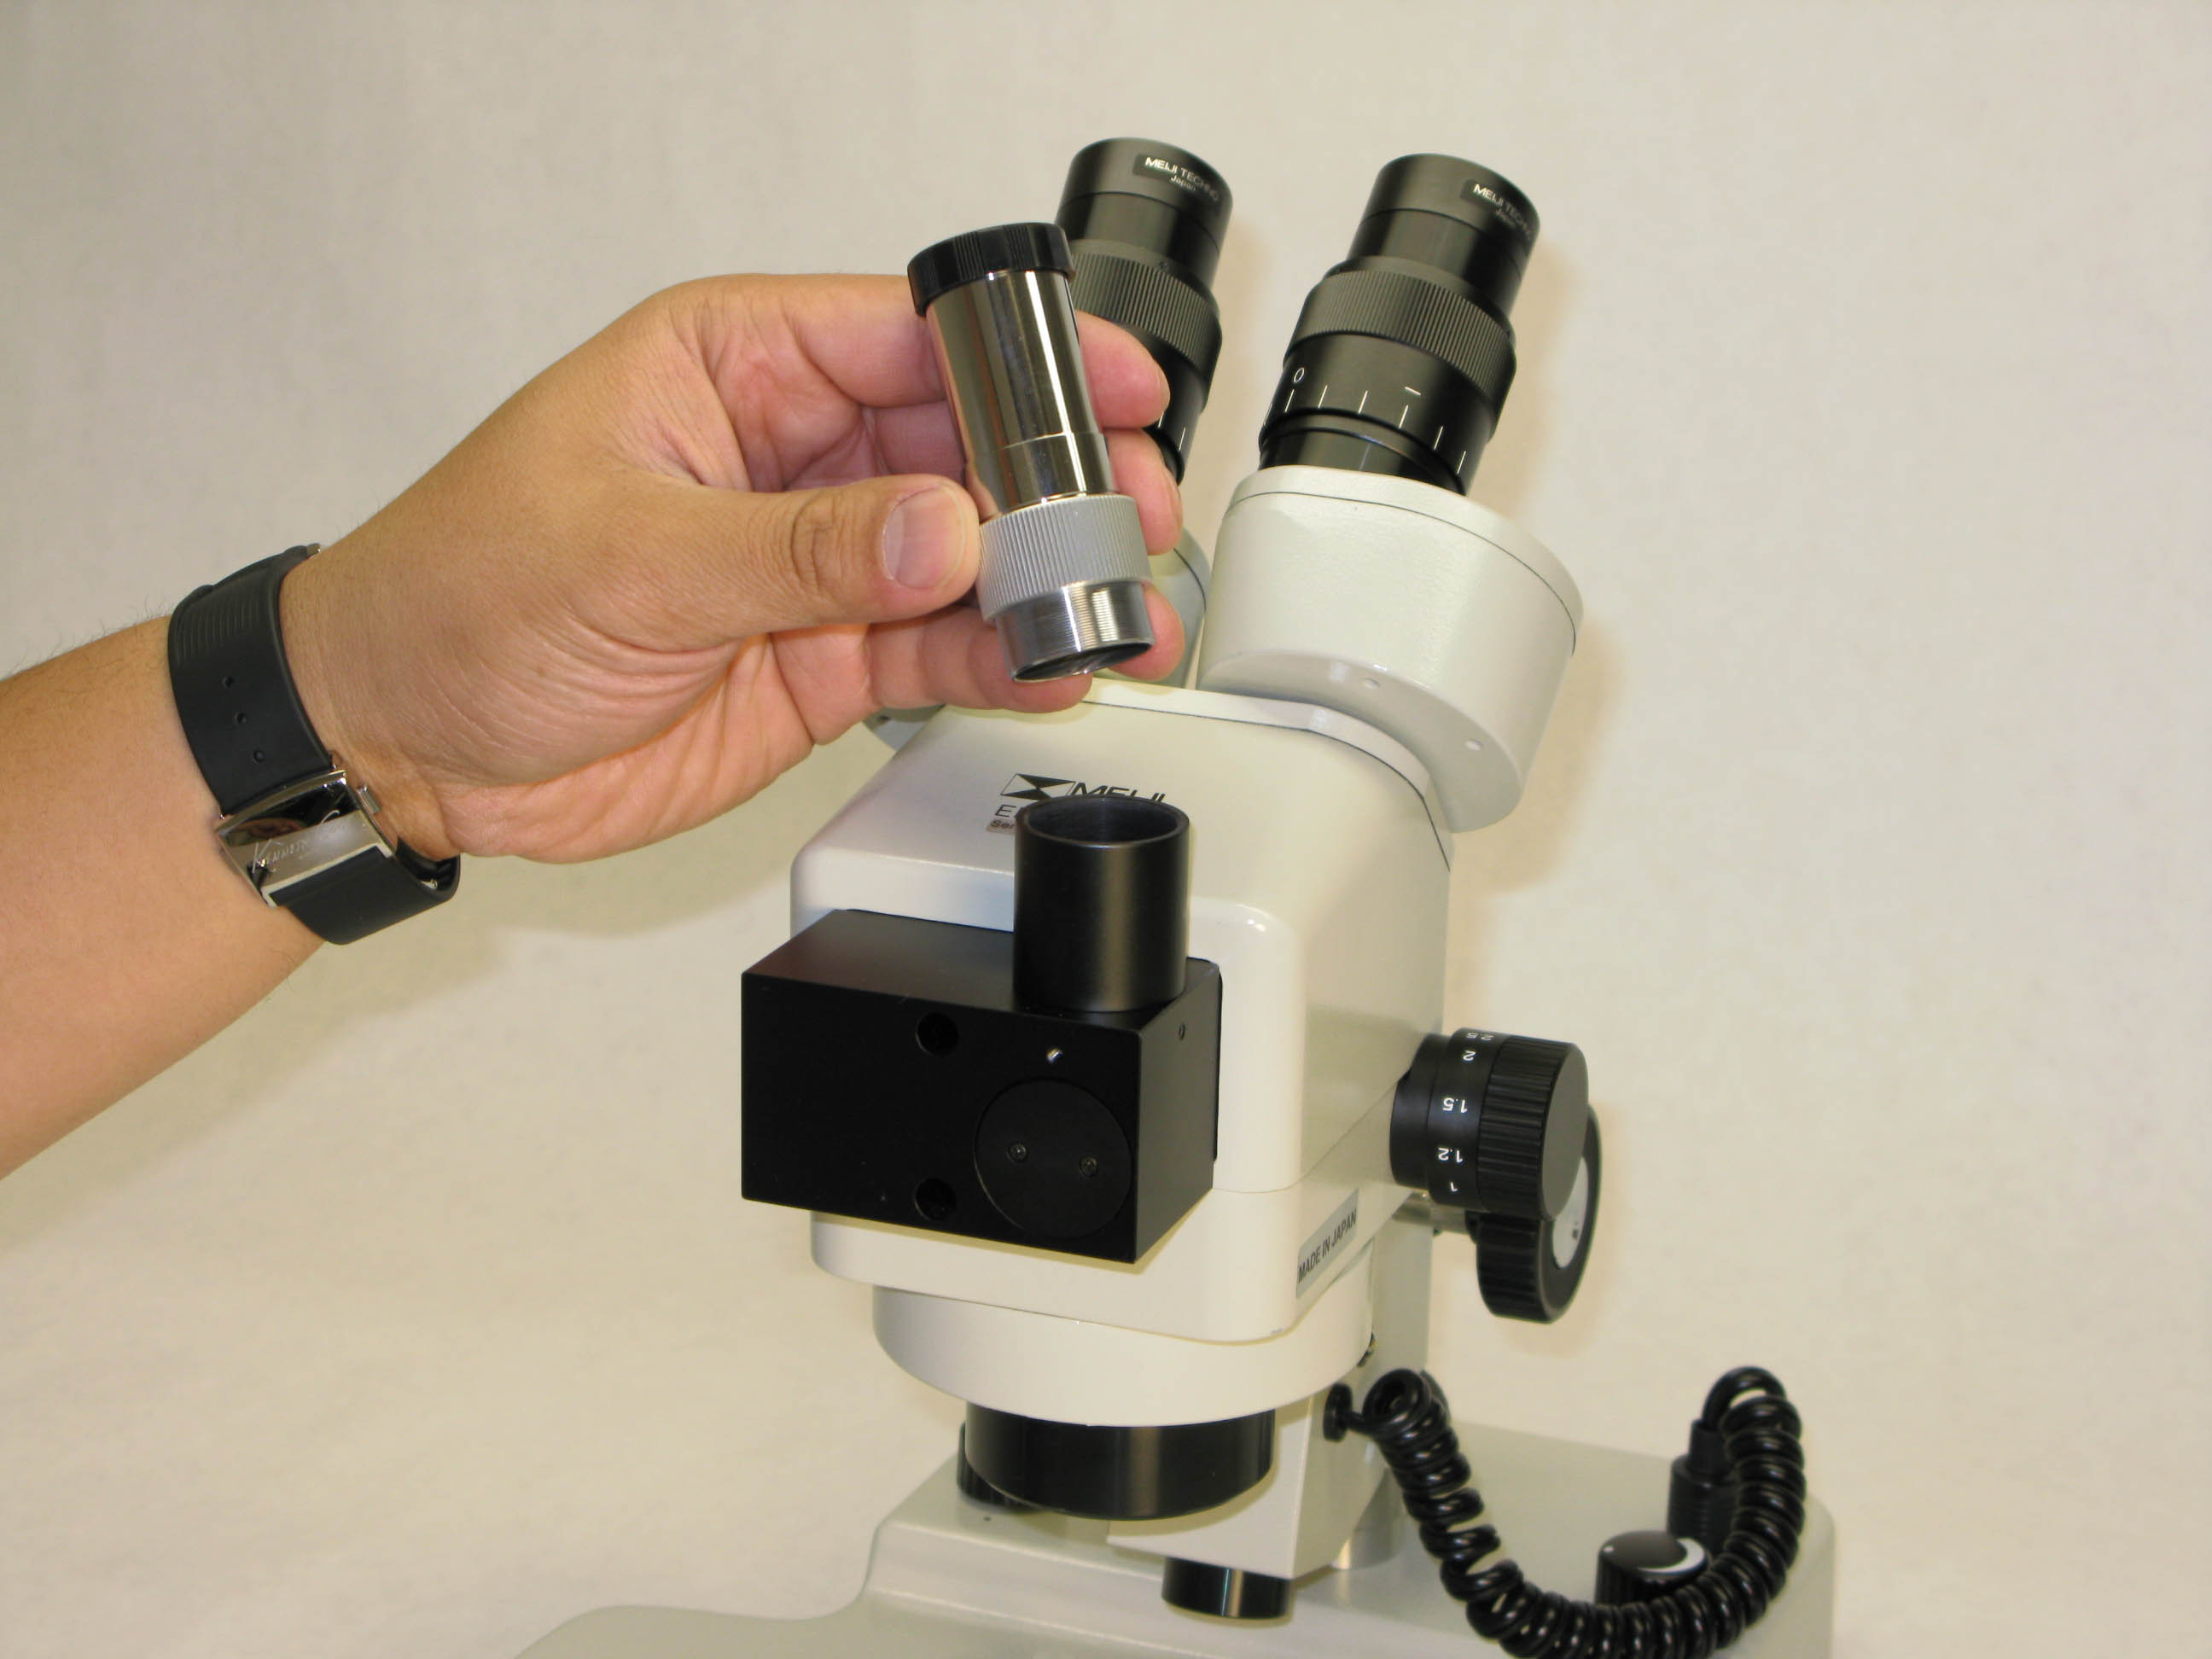 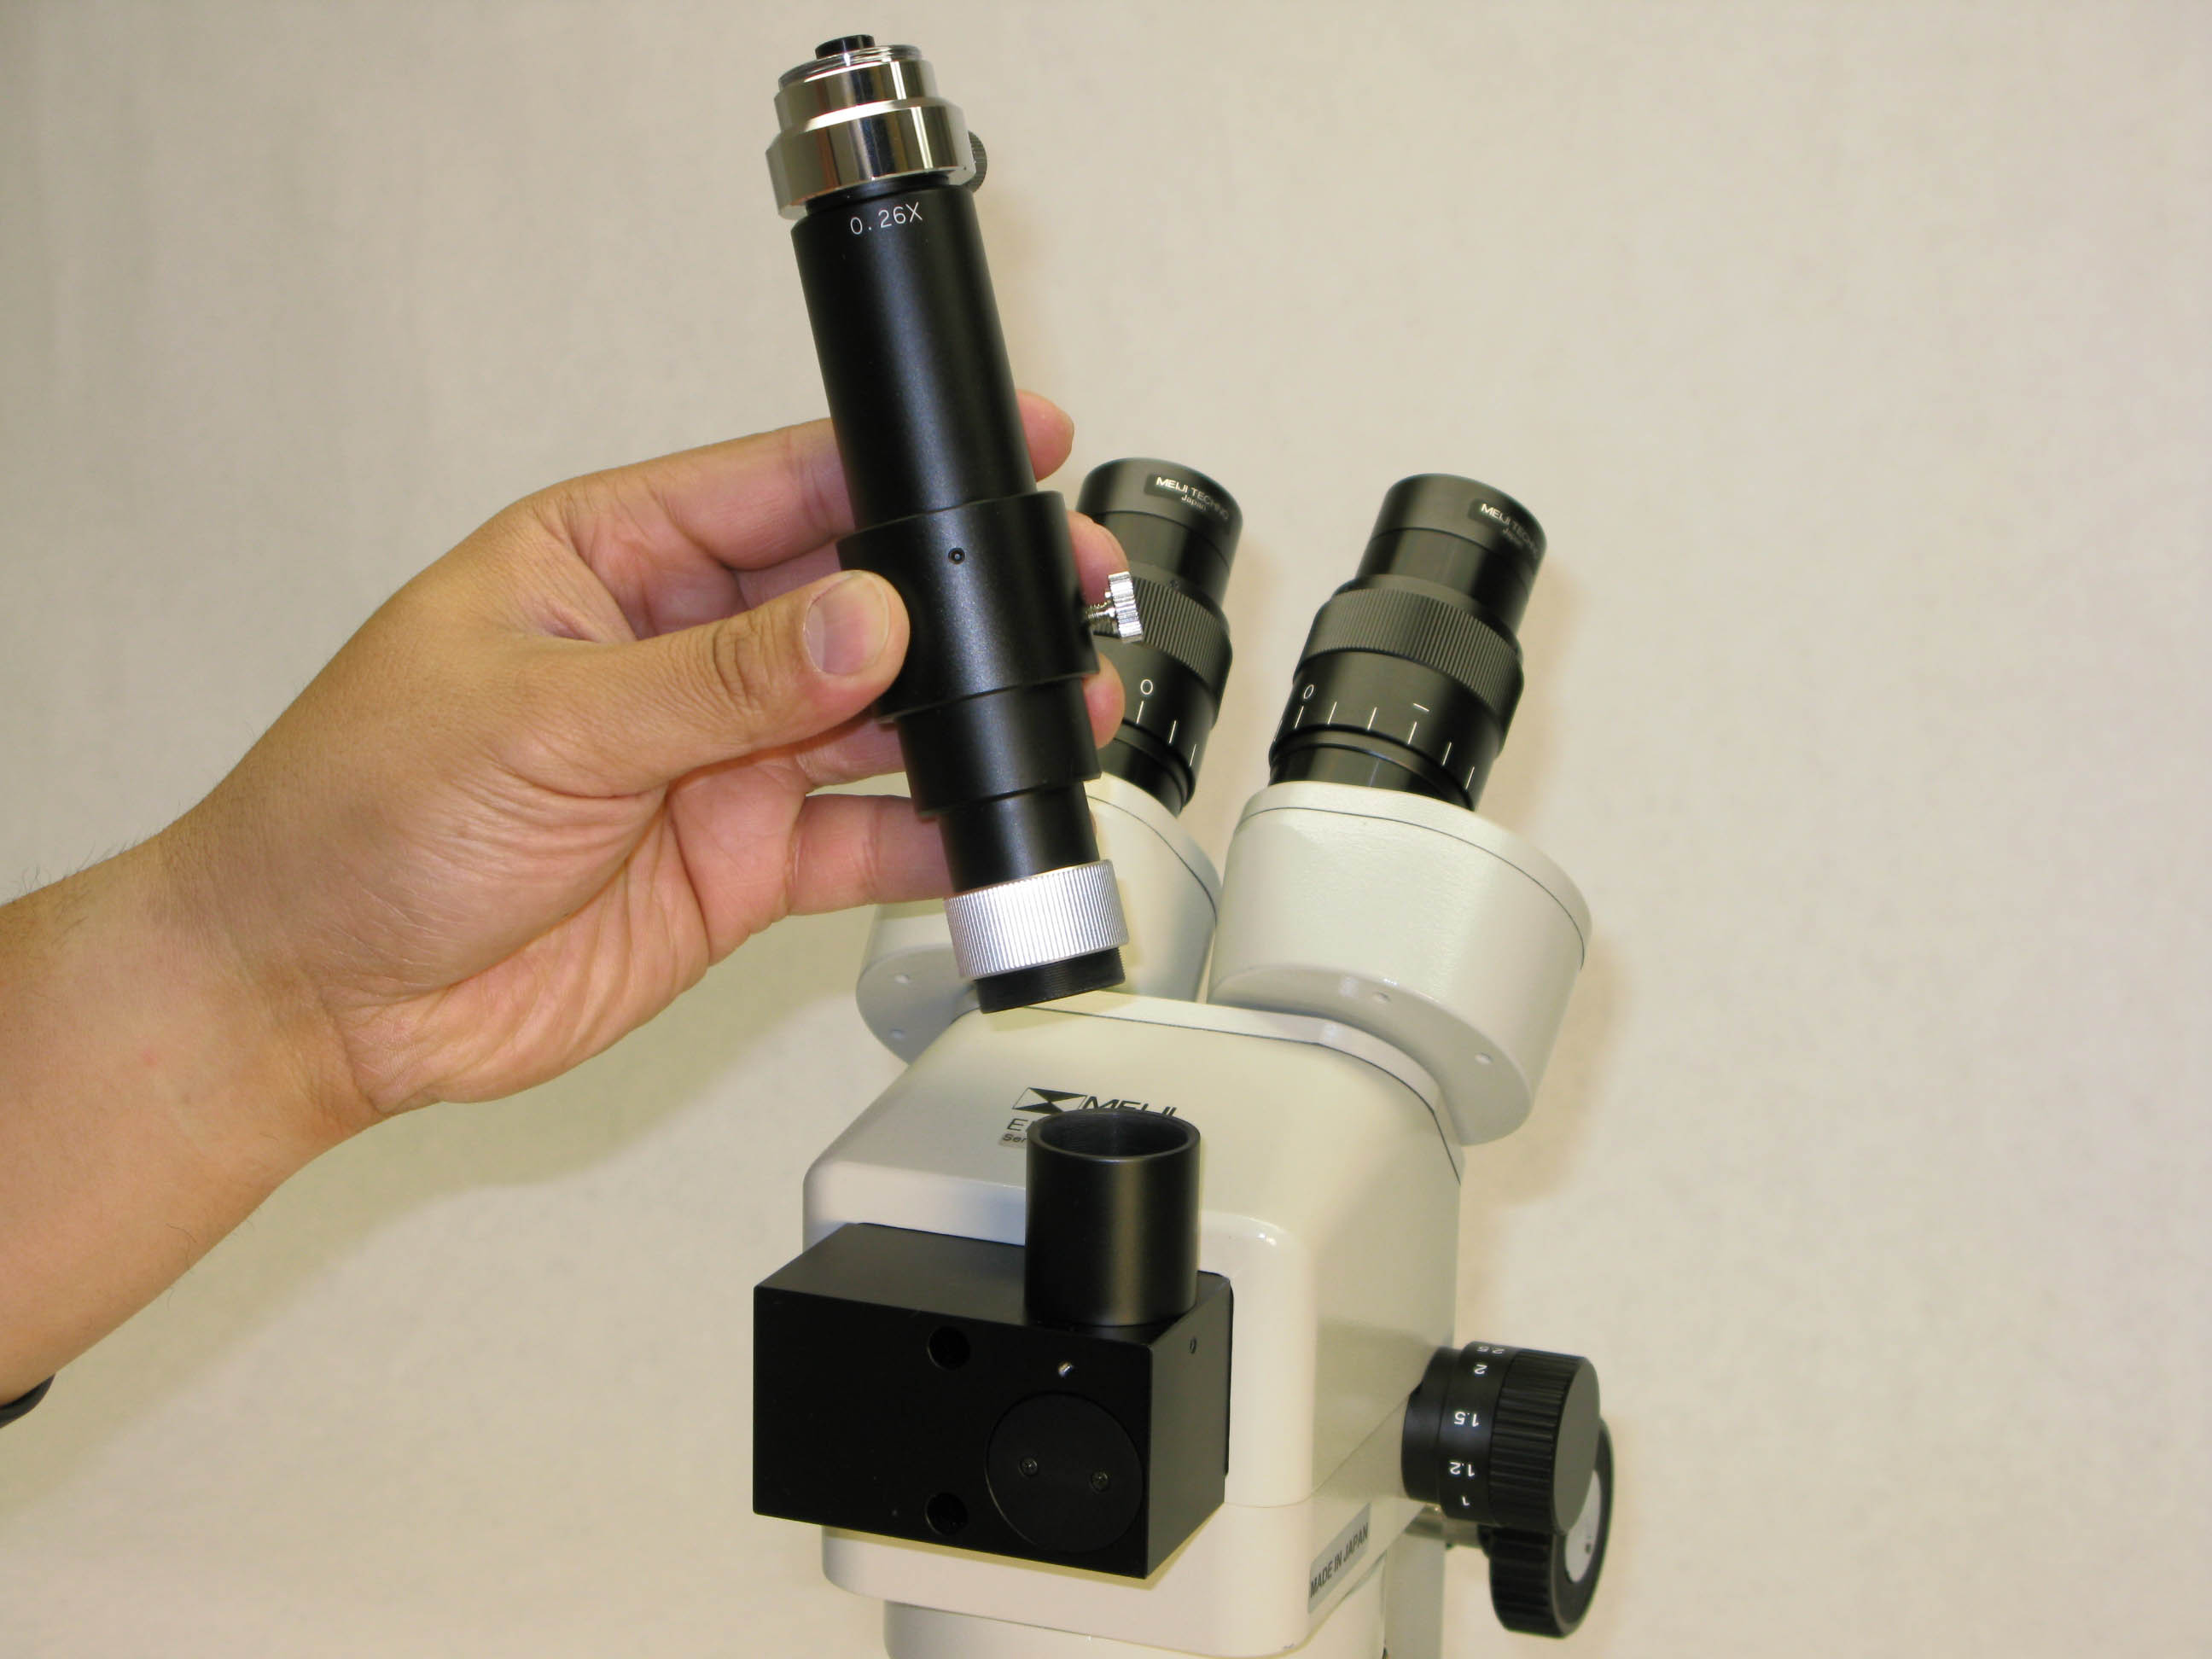 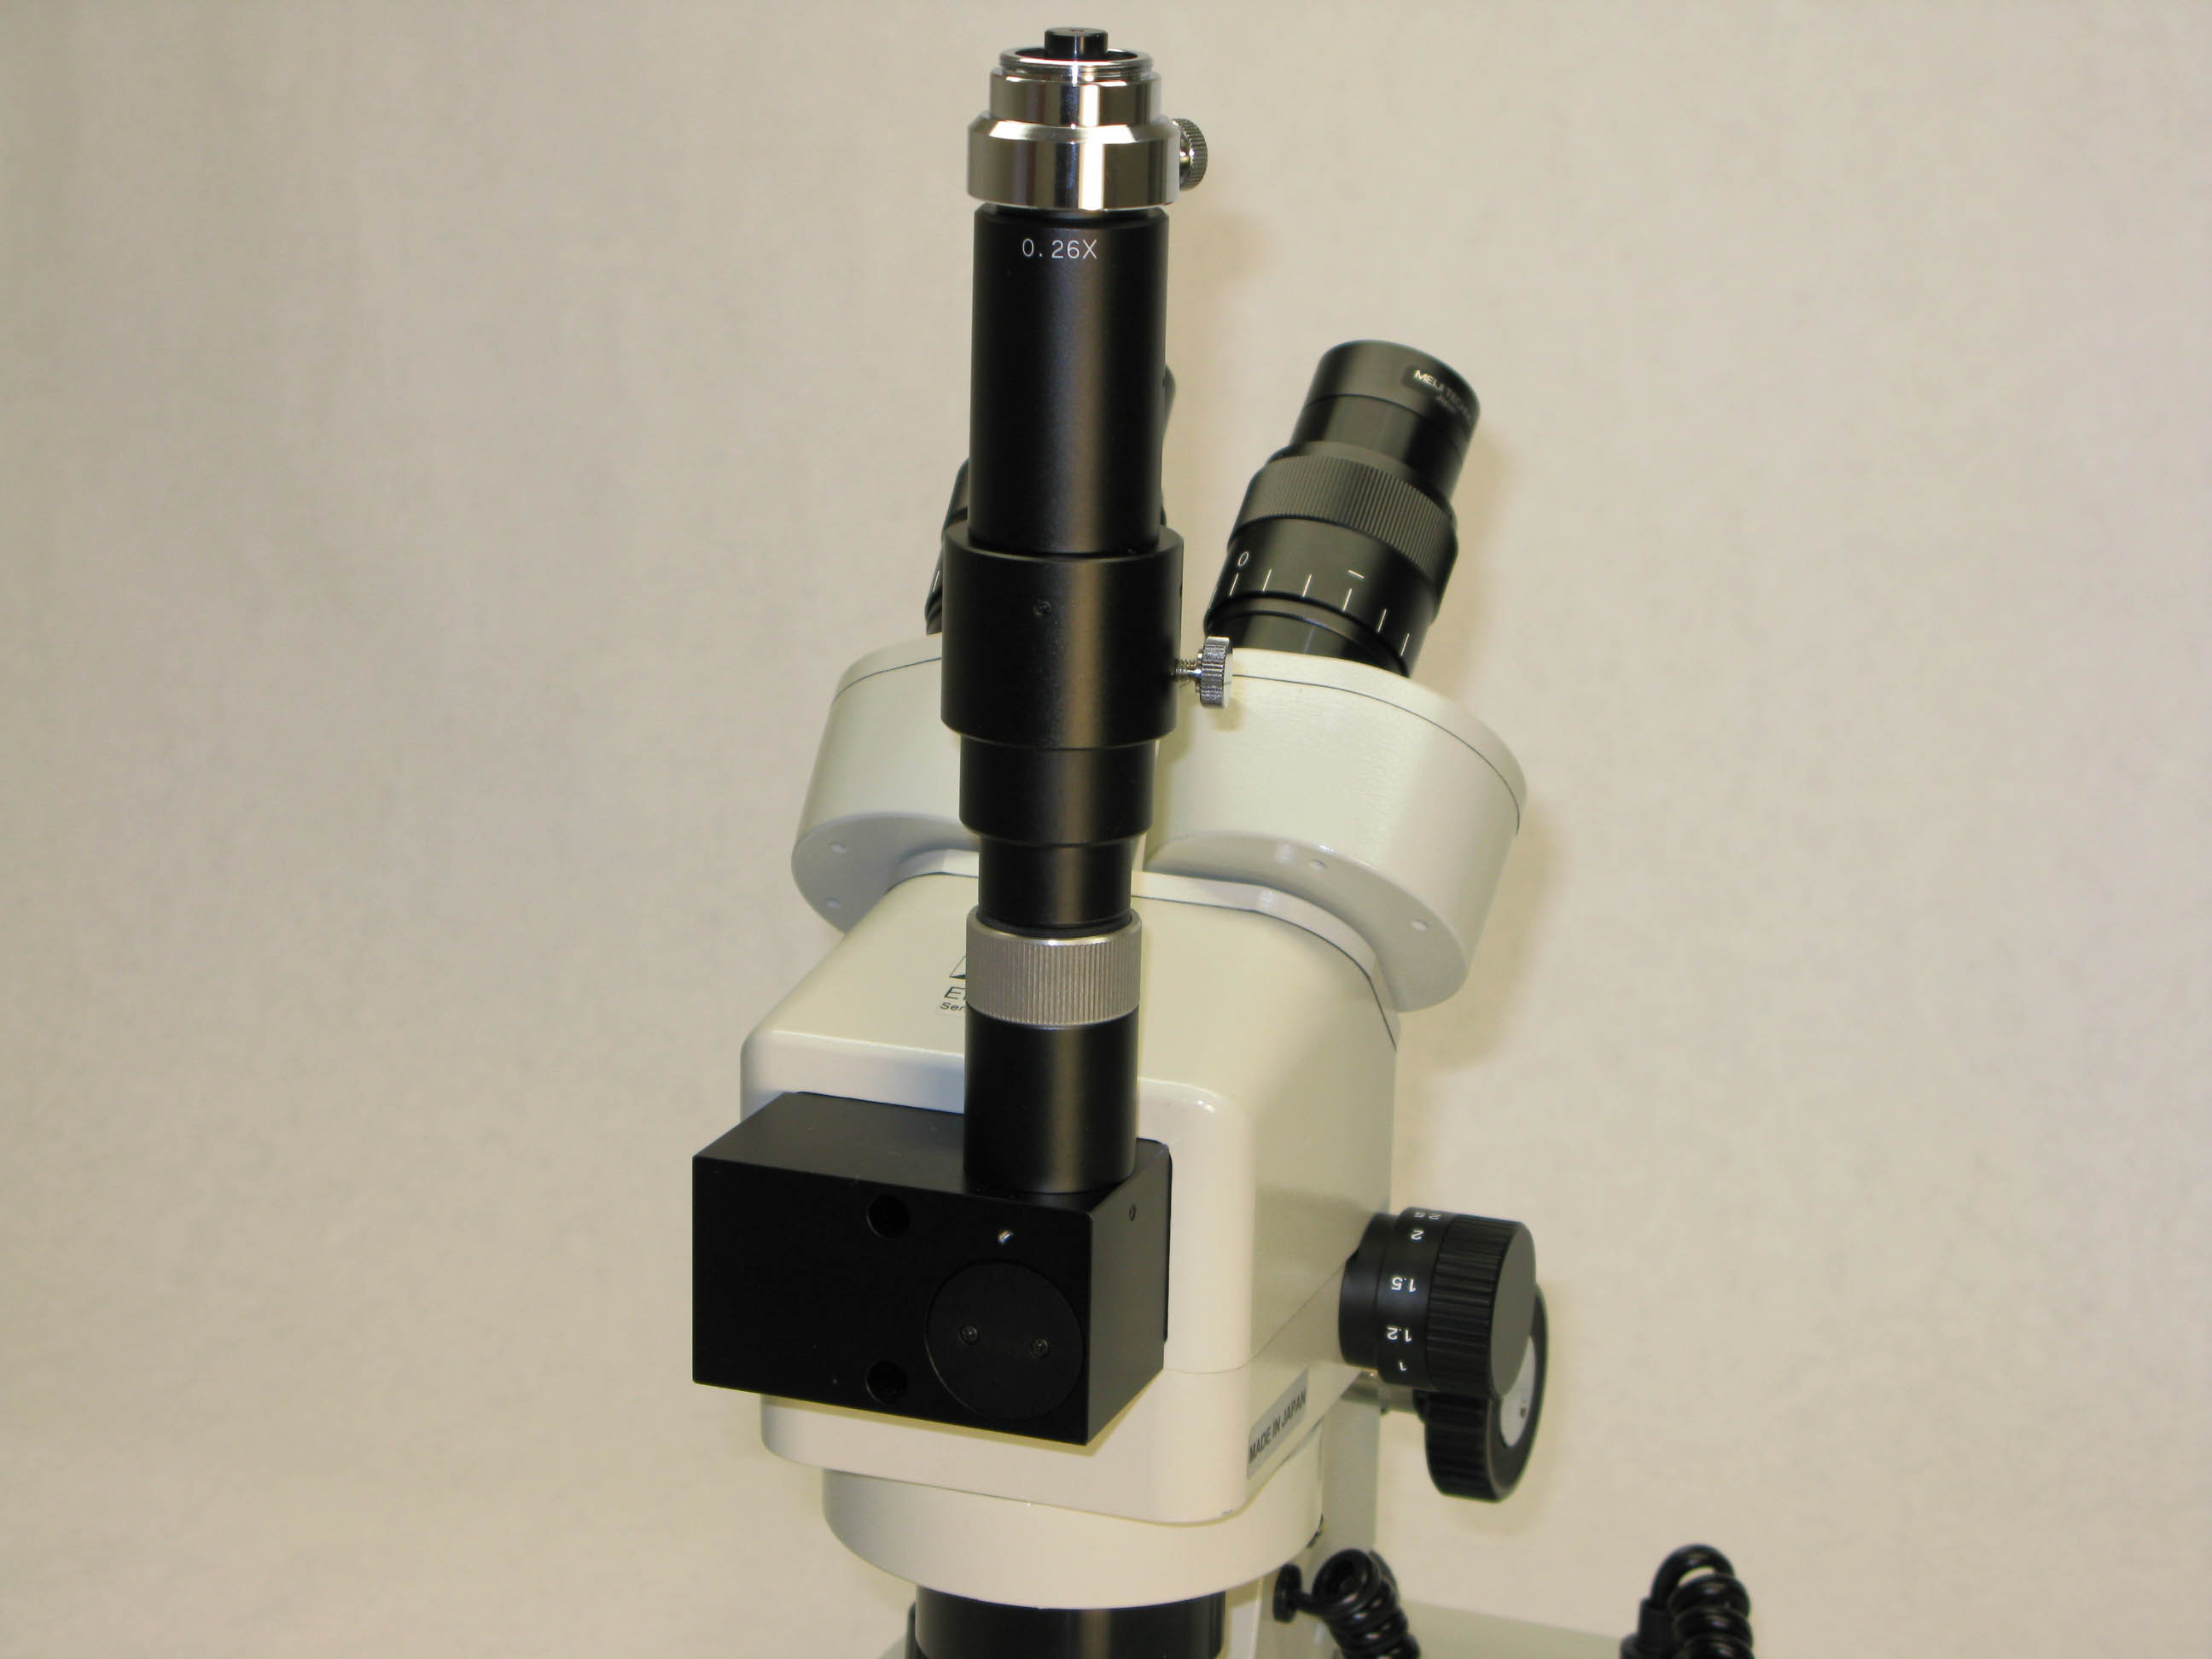 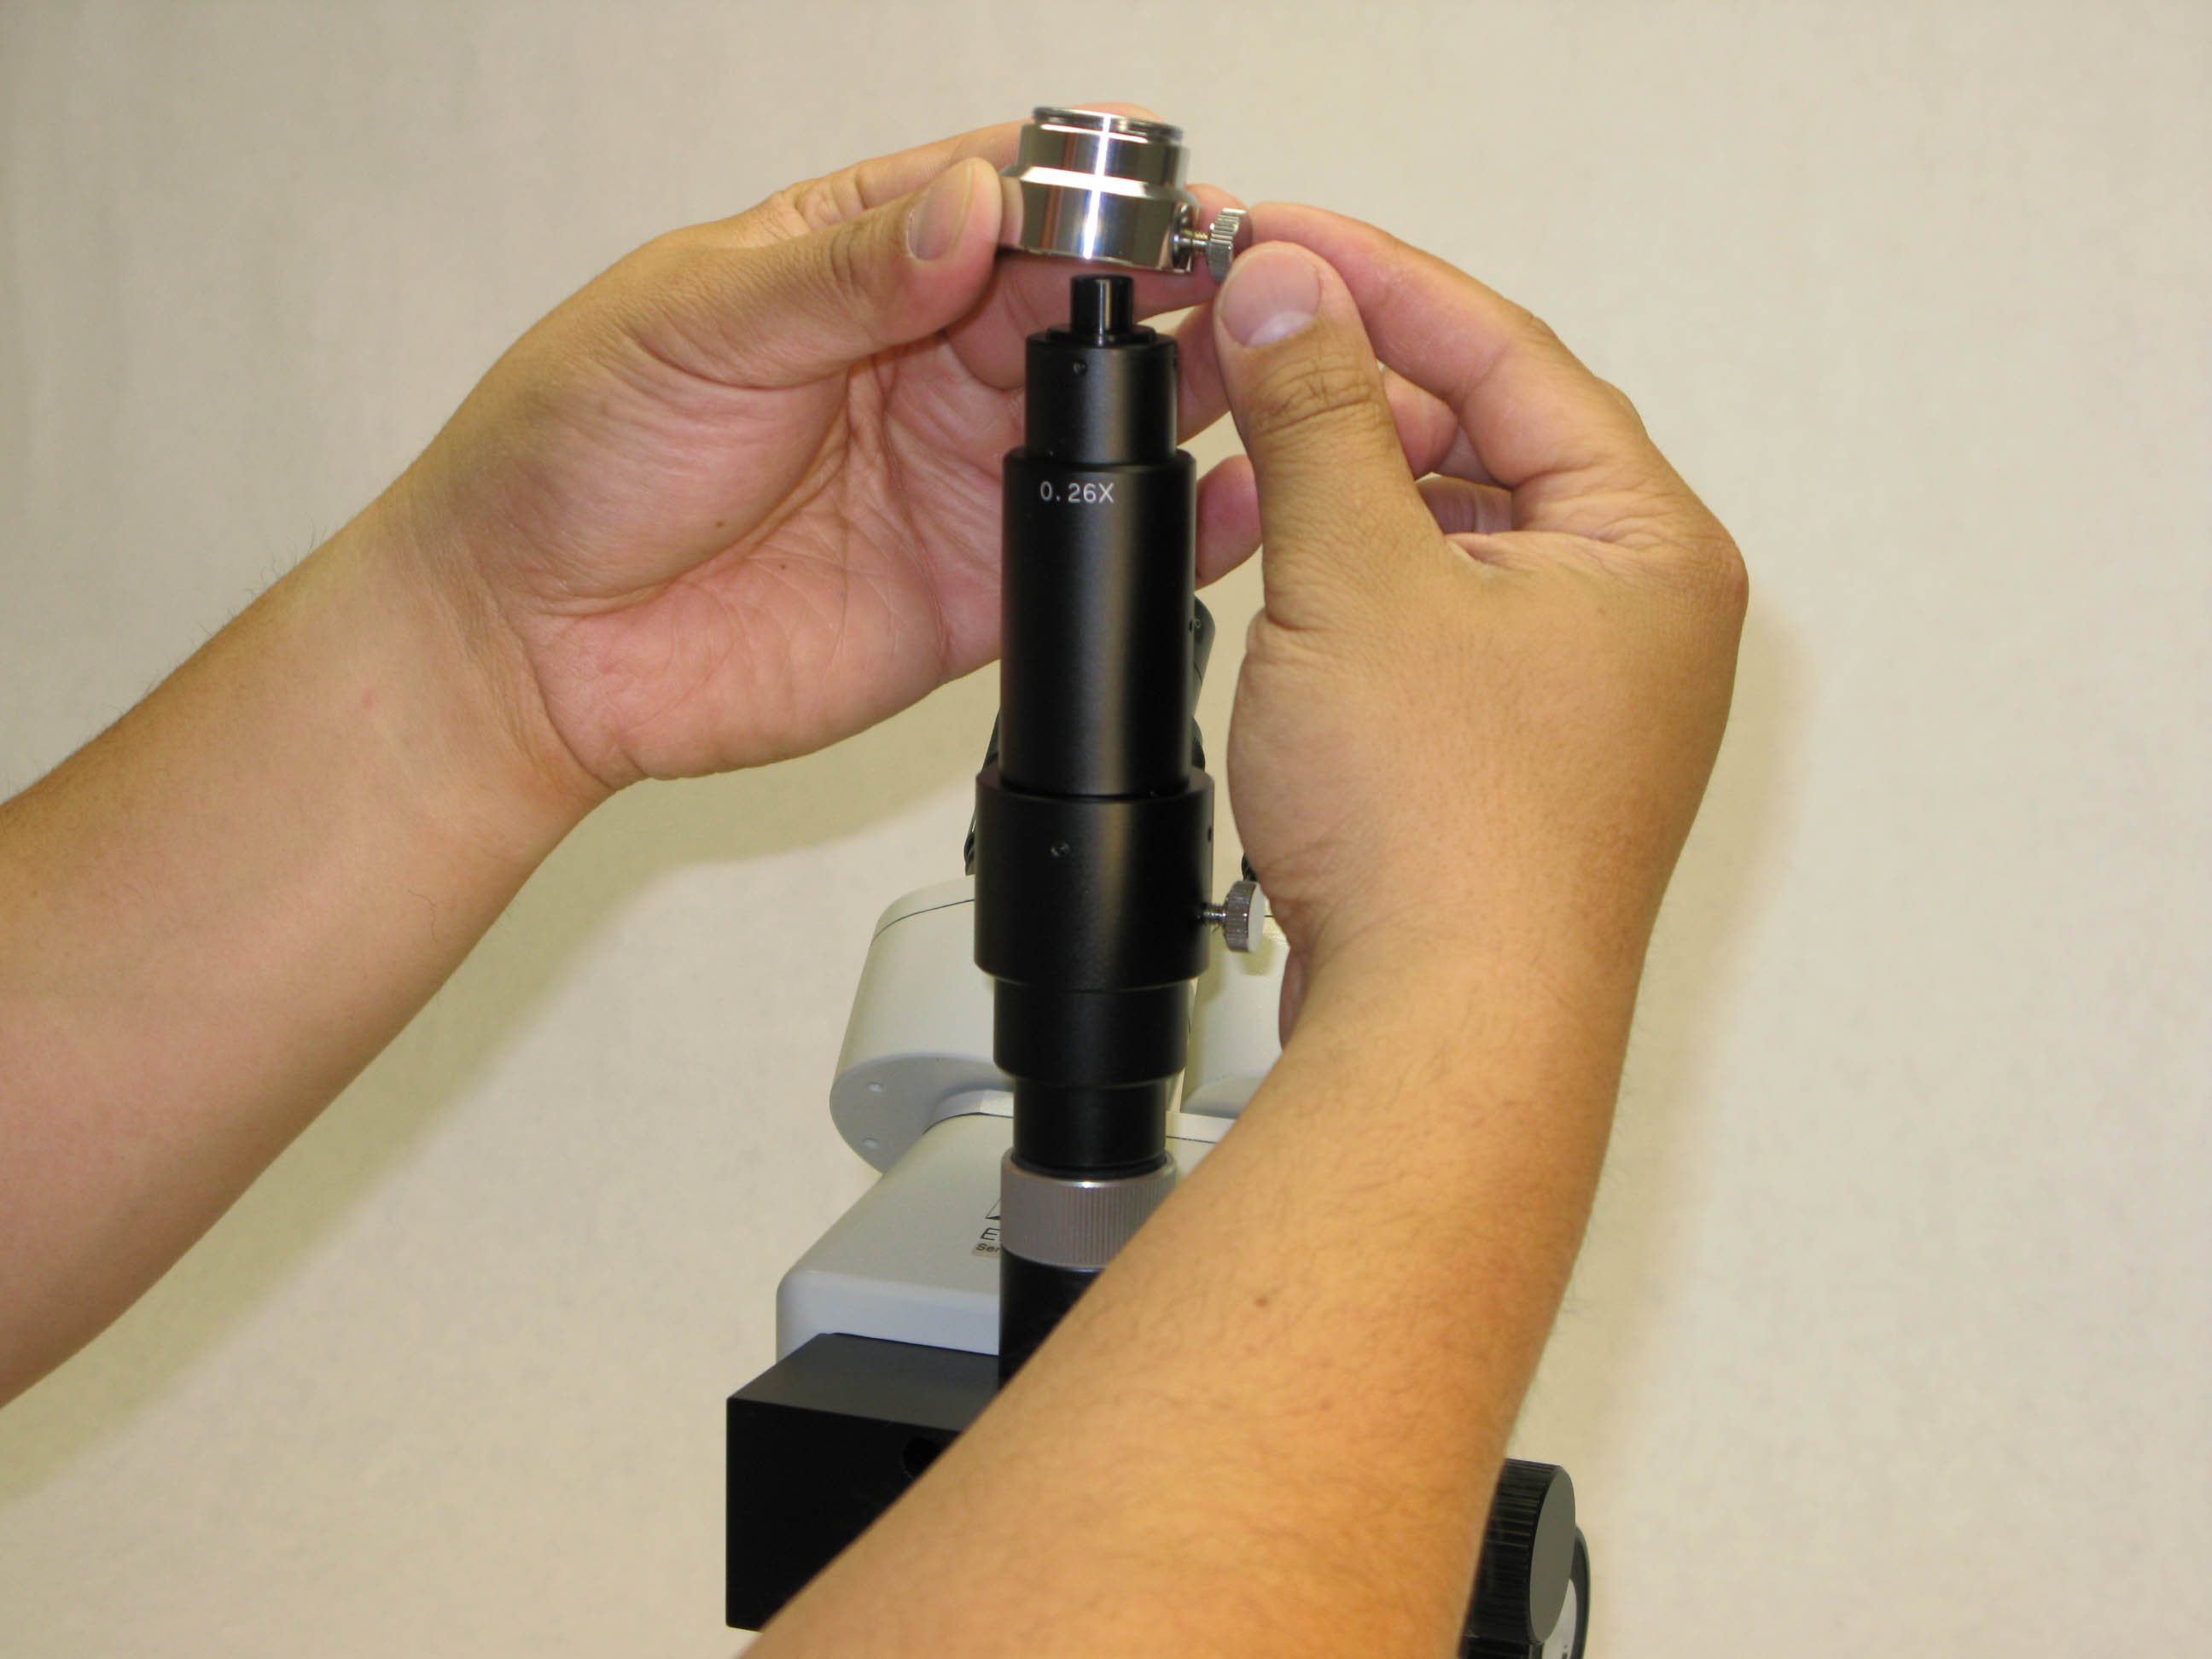 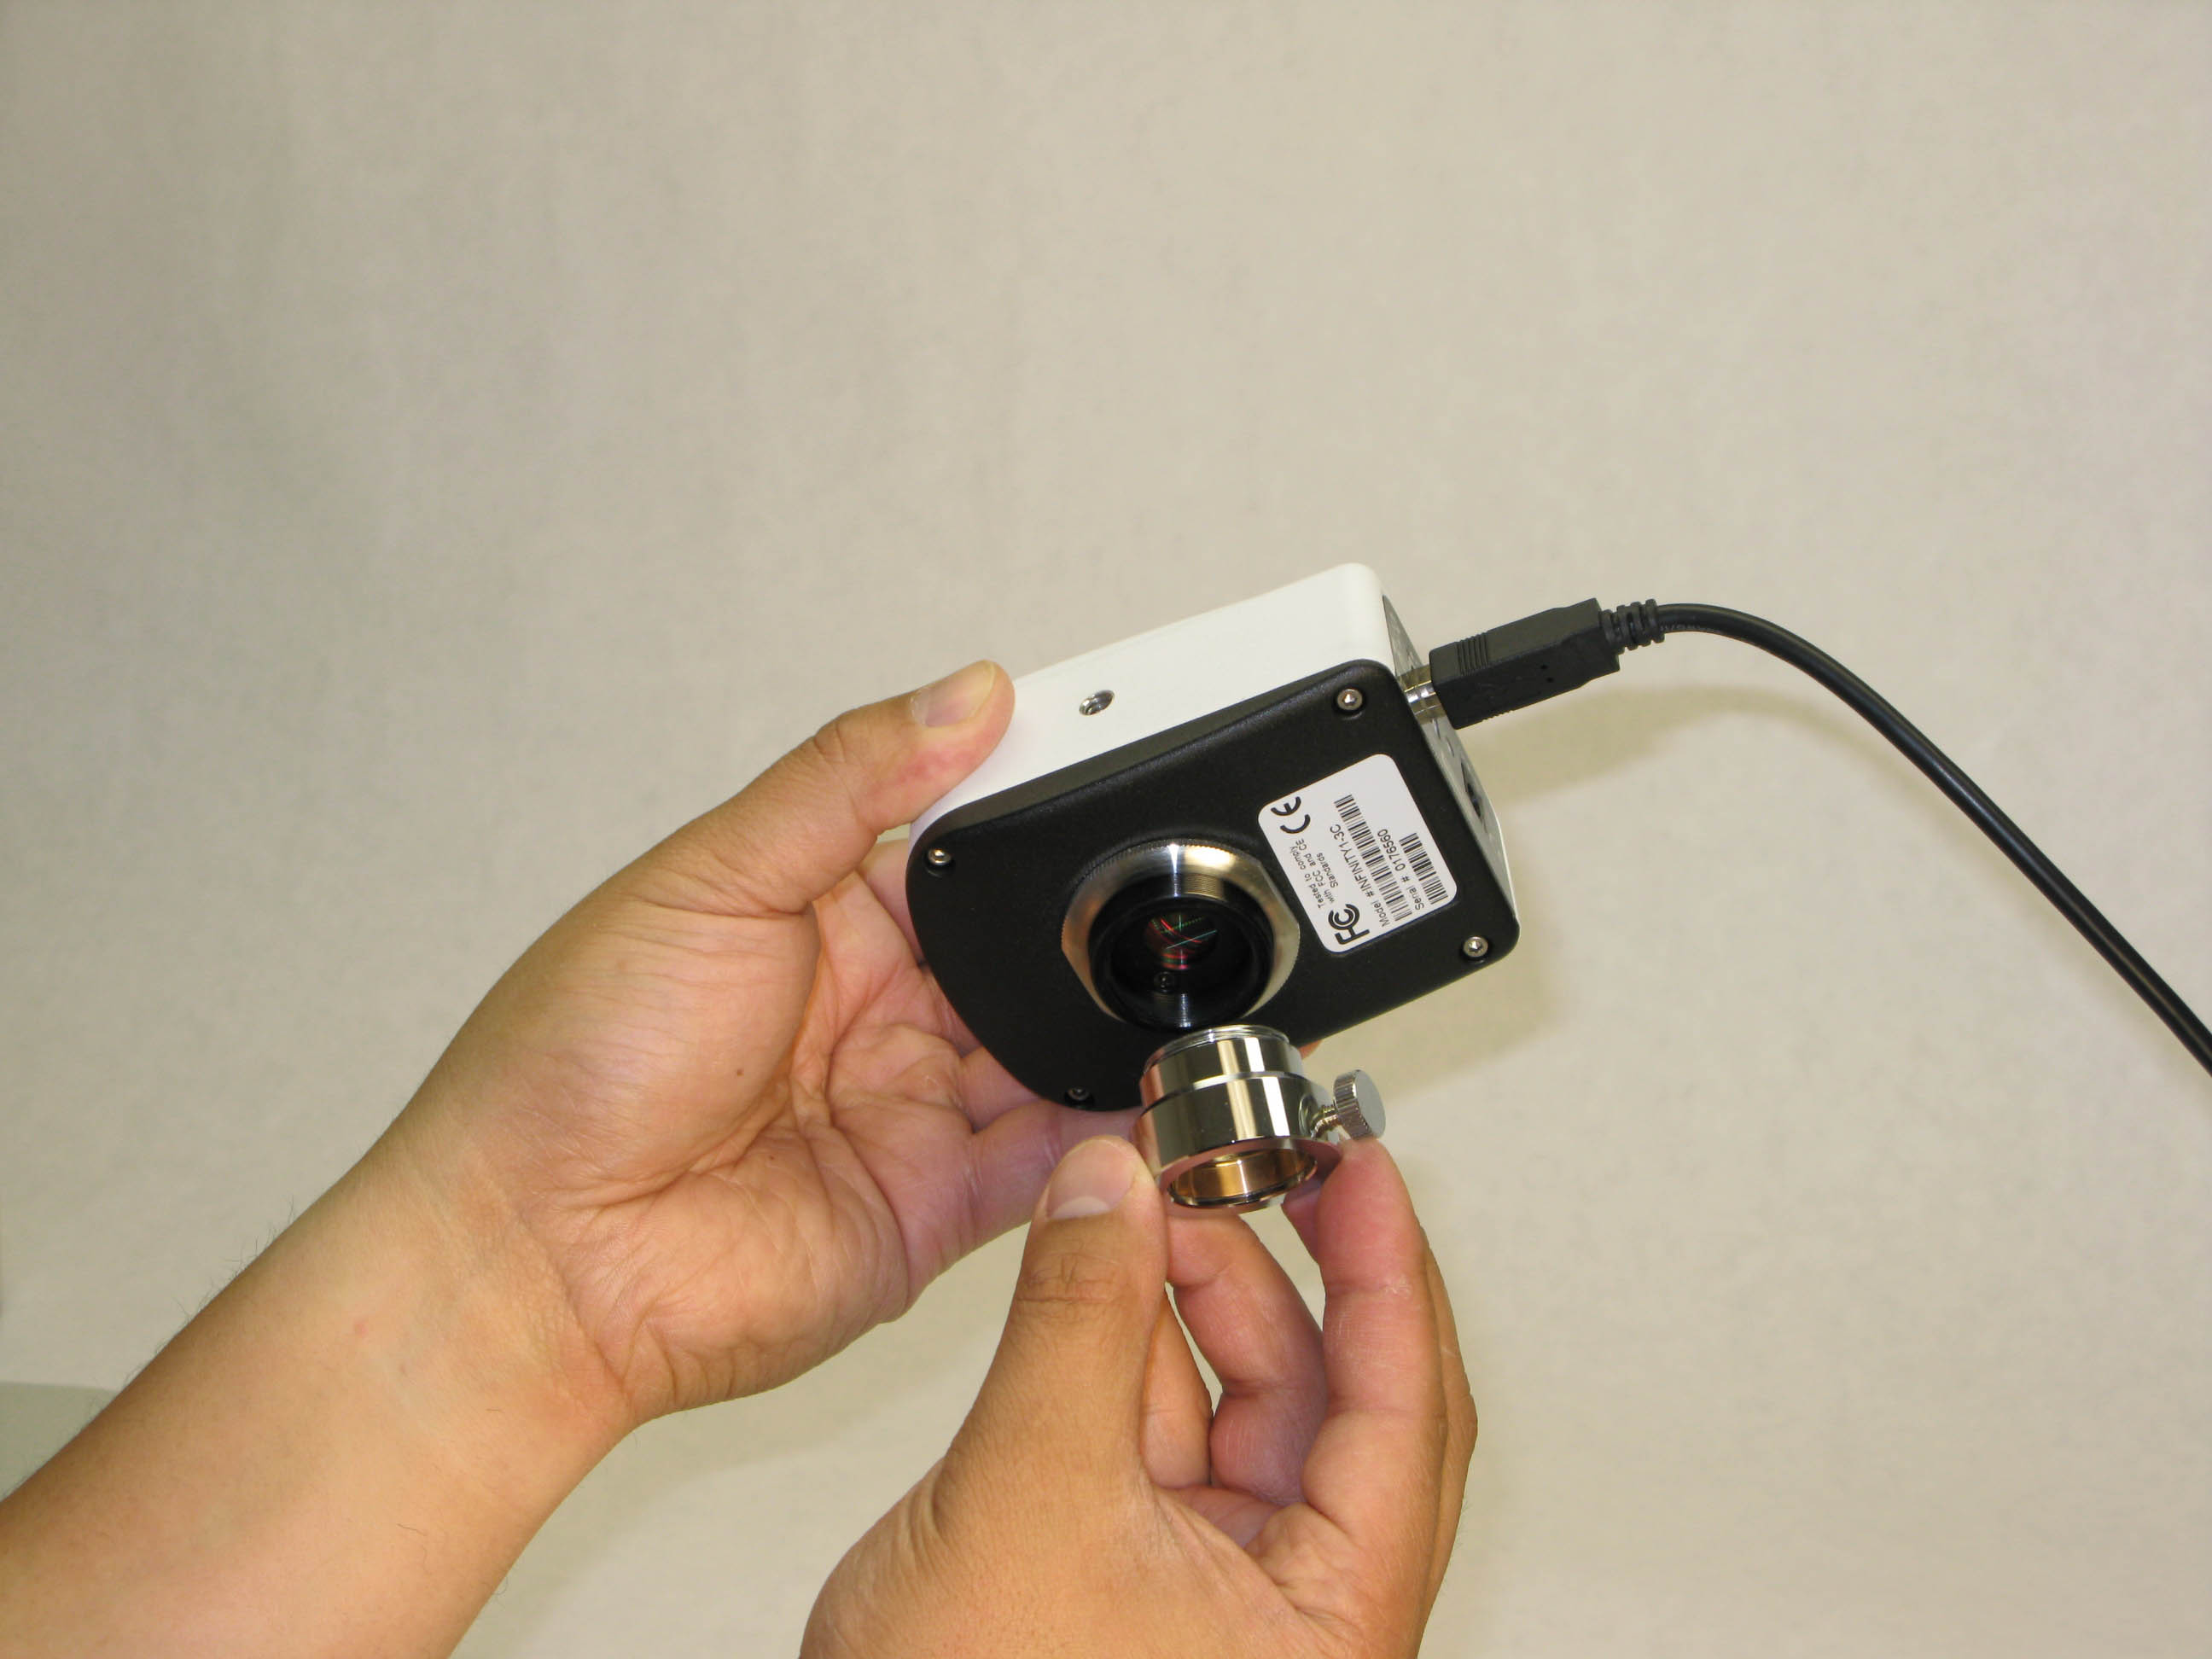 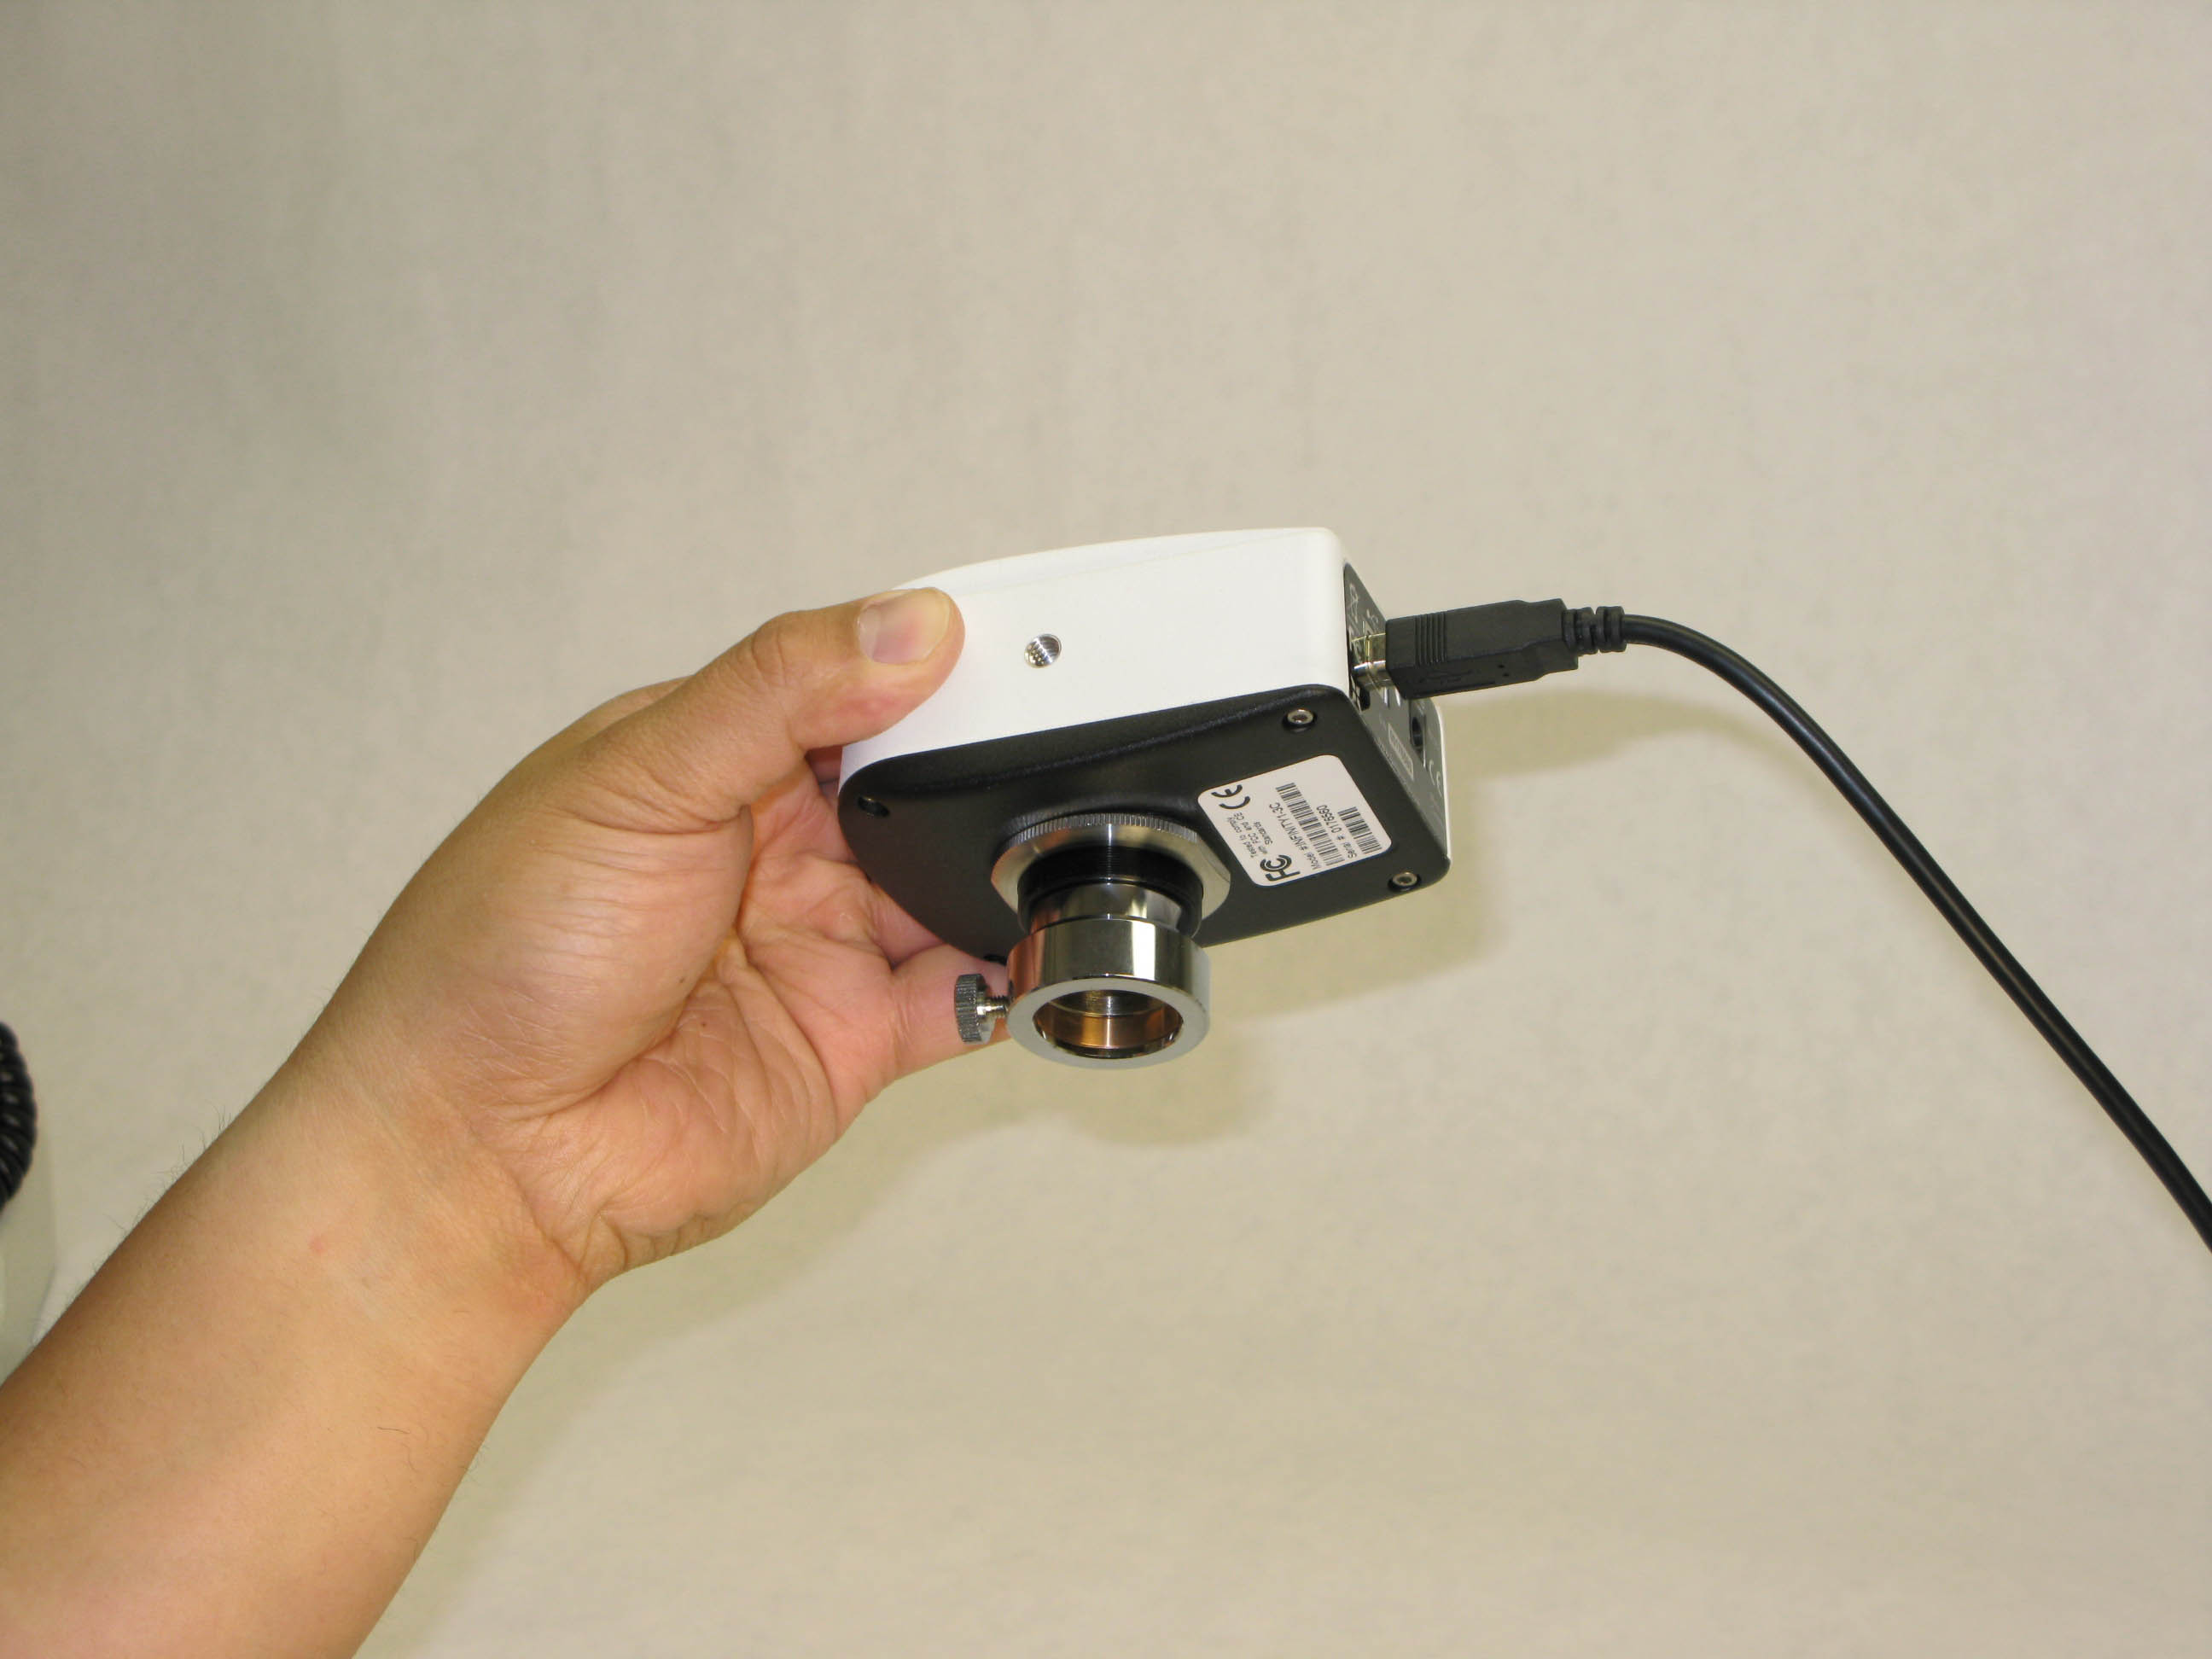 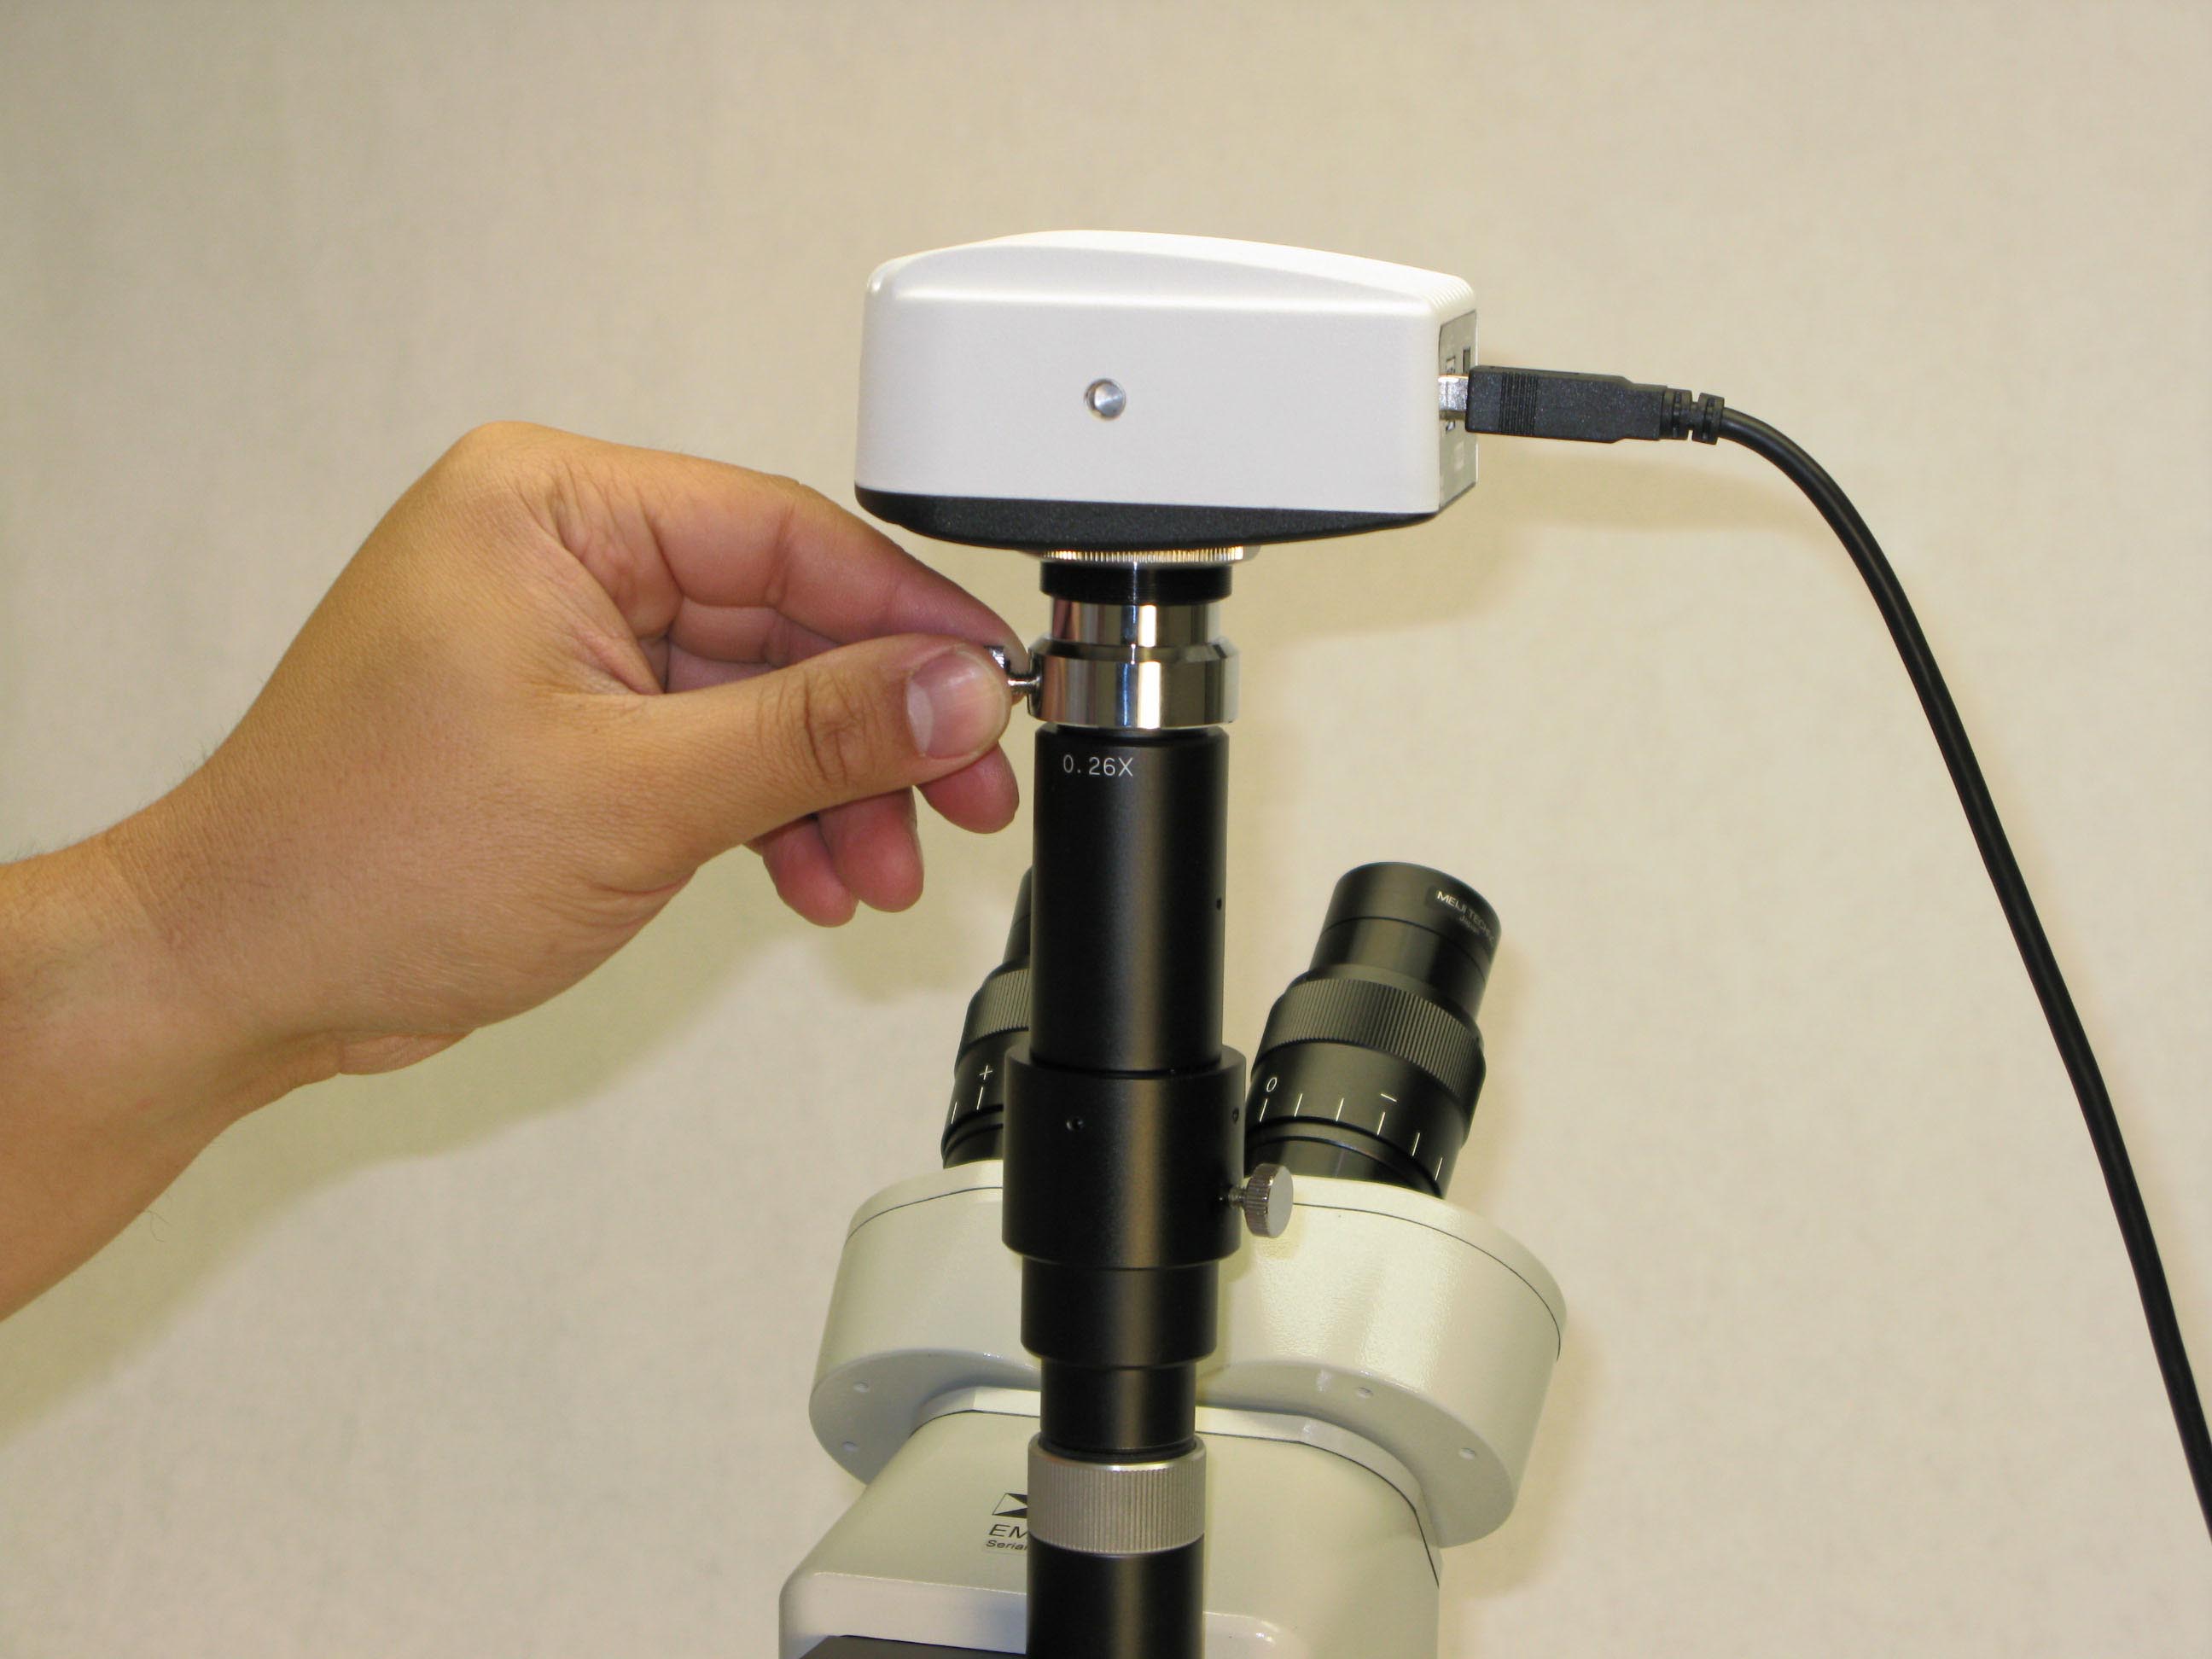 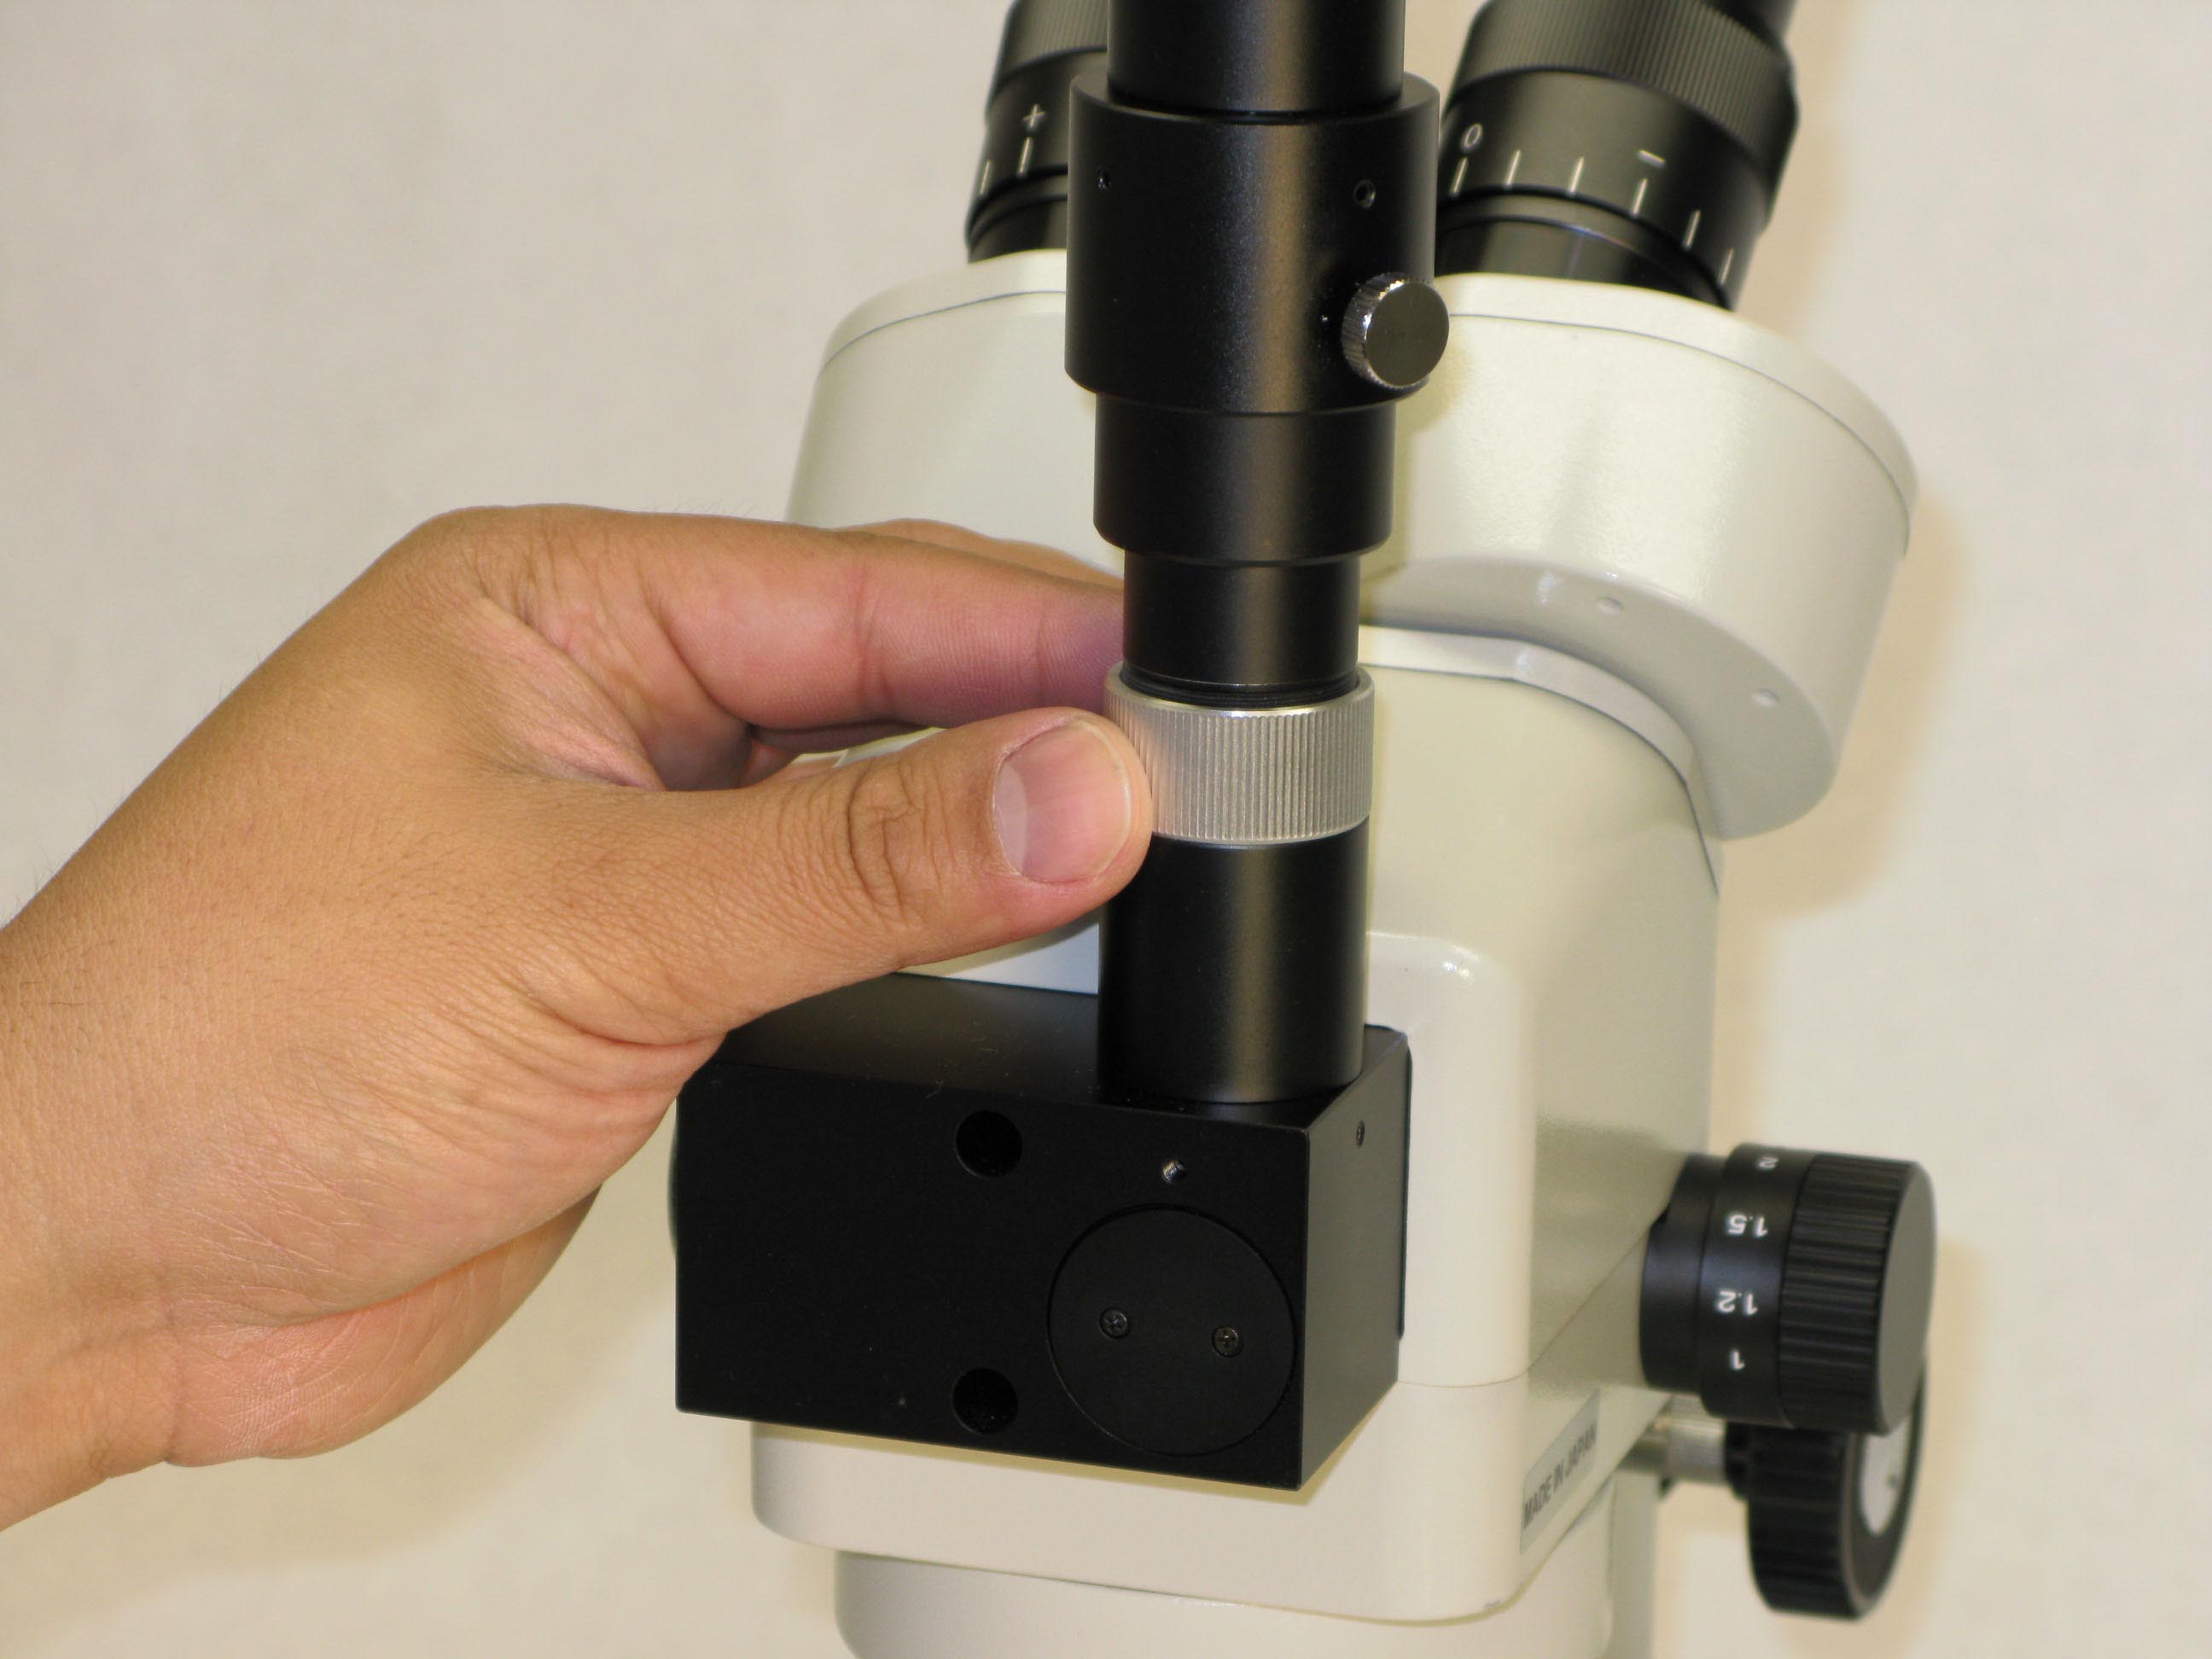 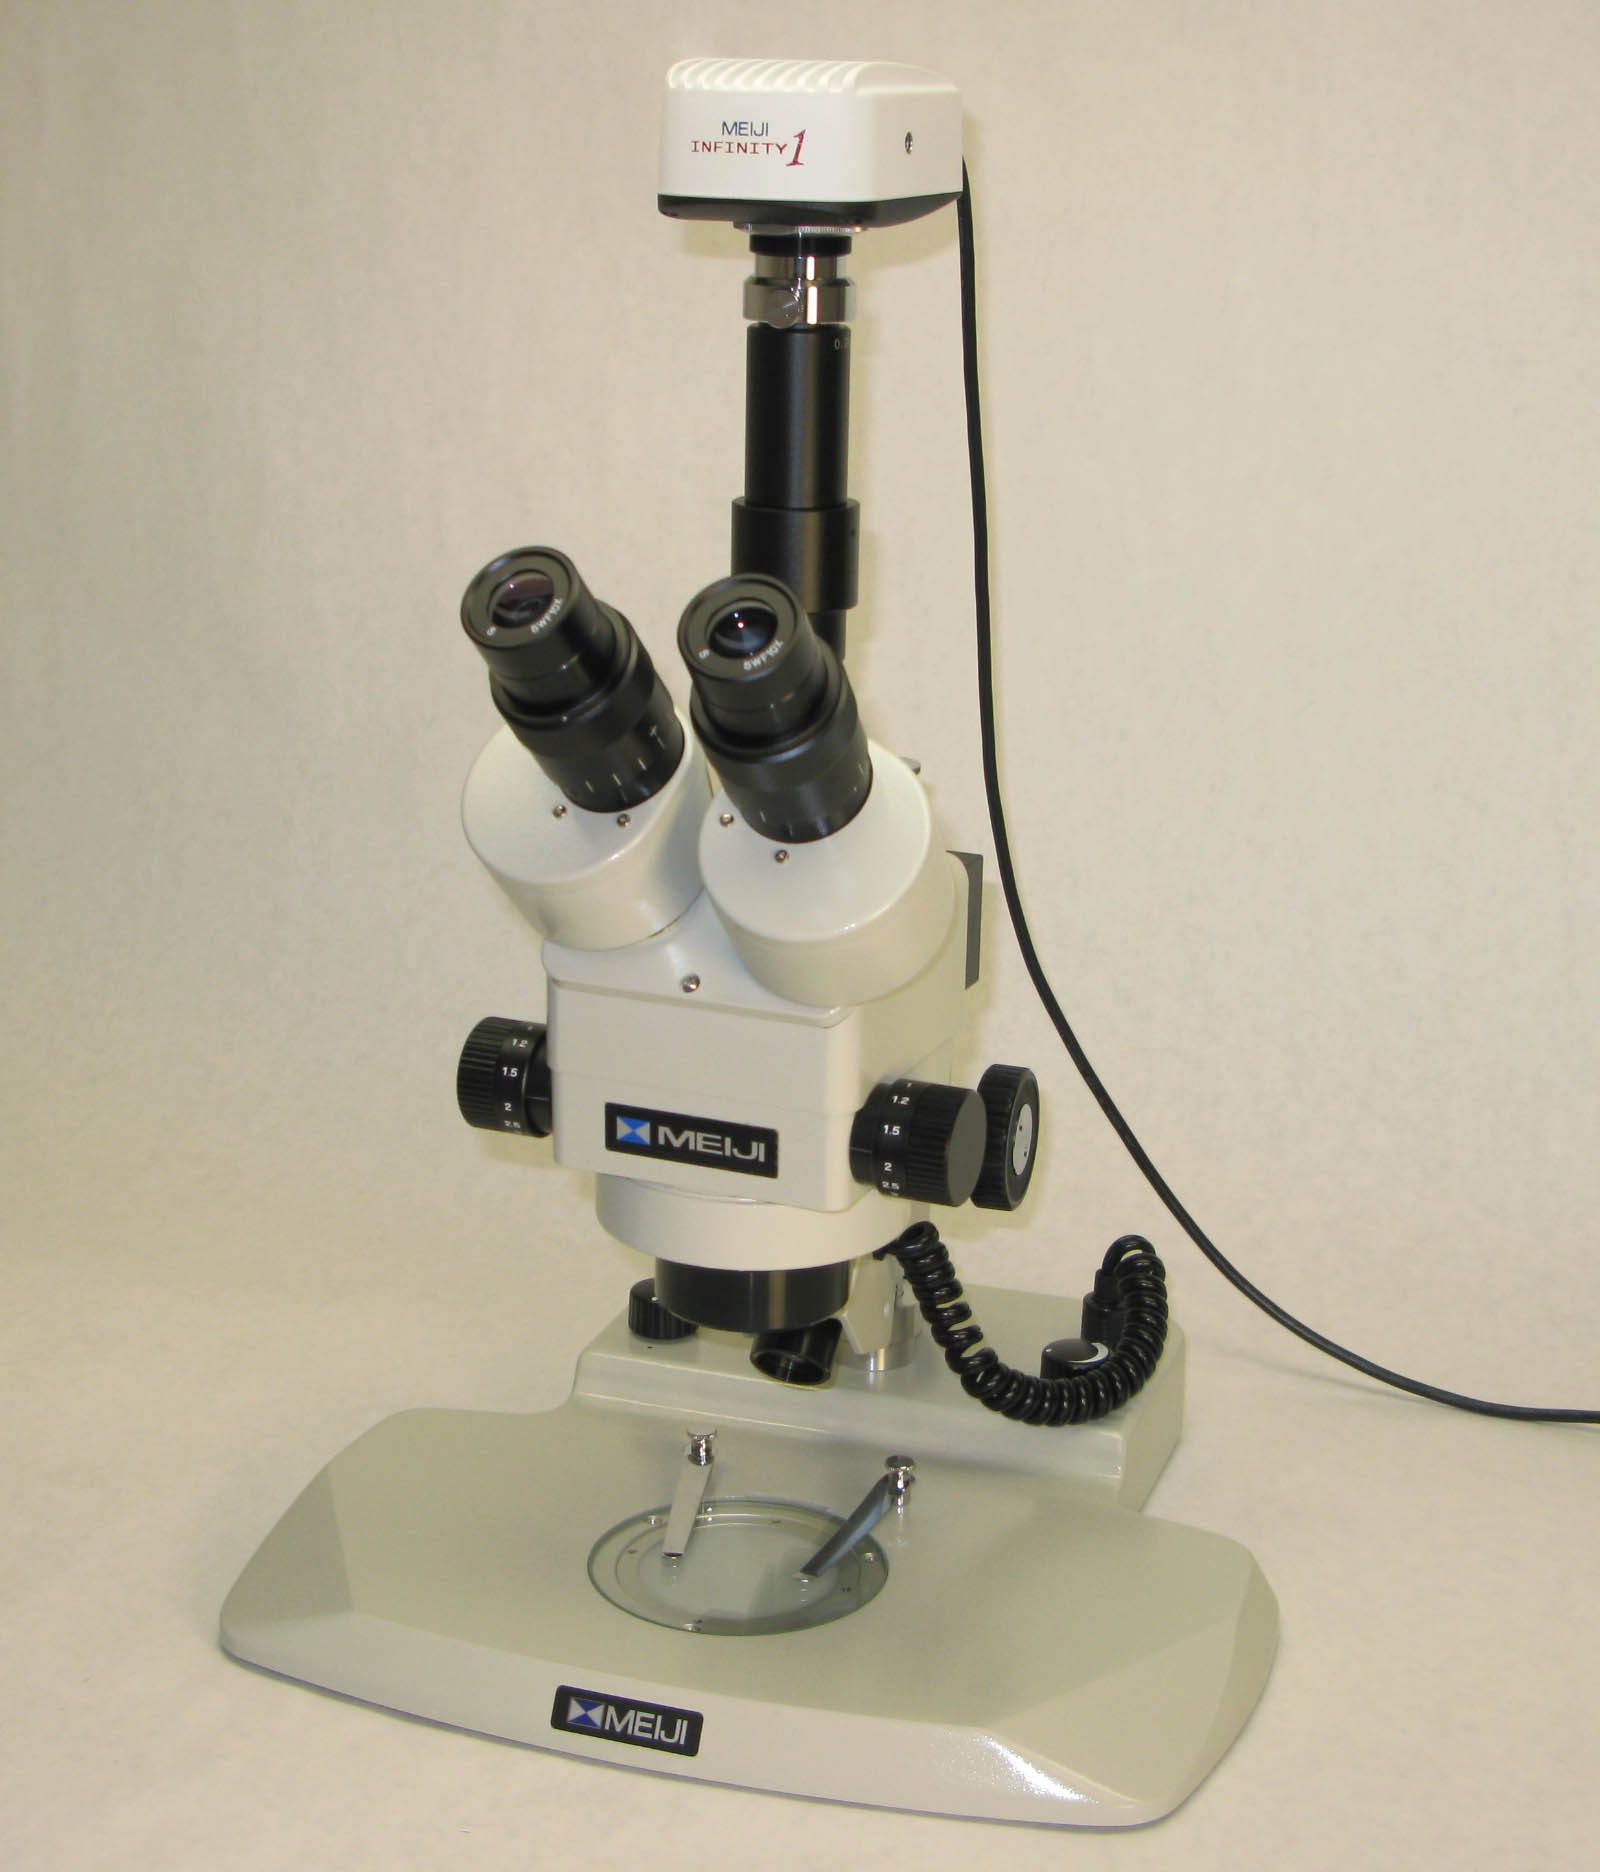
|
||
|
Home | Contact Us | Choosing a Microscope | Accessories | Literature | Service | Warranty
|
||